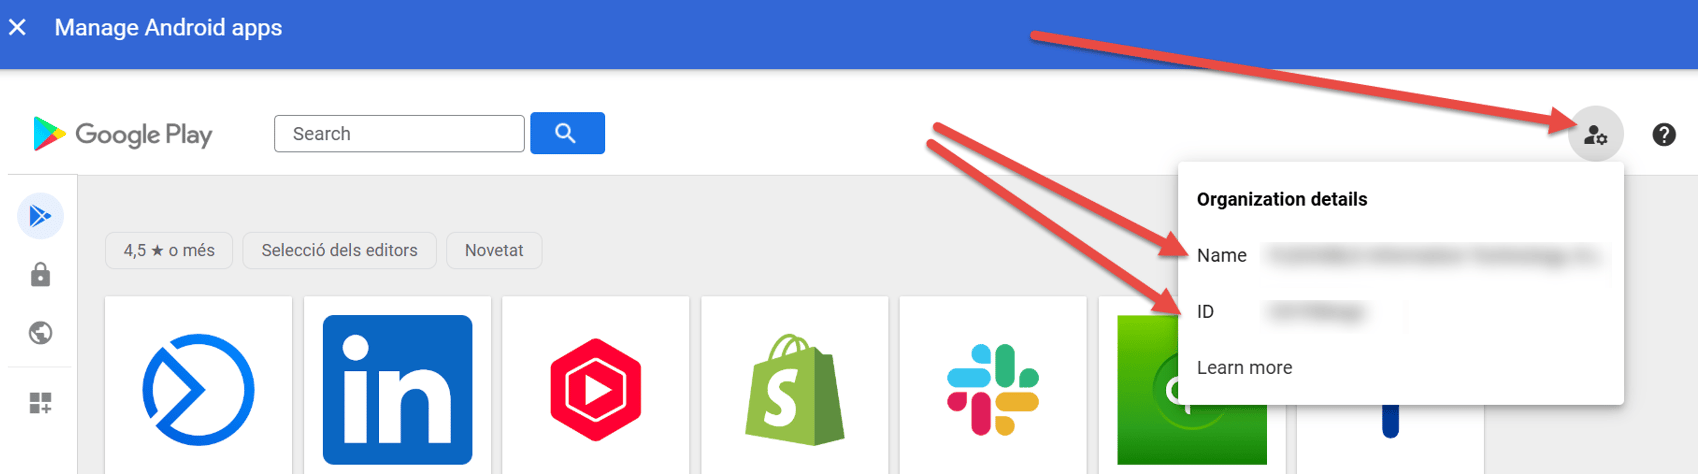
- Managed Google Play name.
- Managed Google Play ID.
Synchronize the application in Microsoft Intune
Once the application has been enabled in Managed Google Play:- Sign in to the Microsoft Intune admin center.
- Select the application and synchronize it:
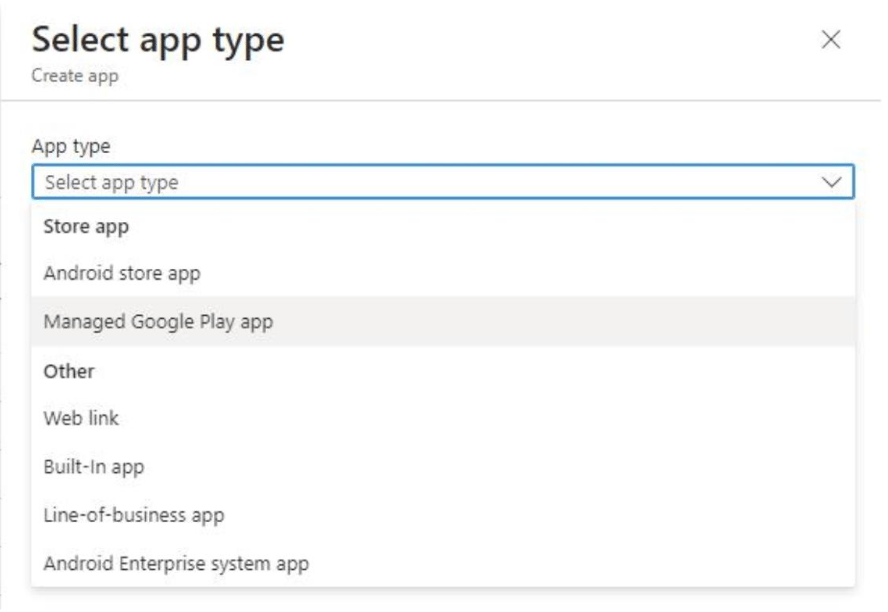
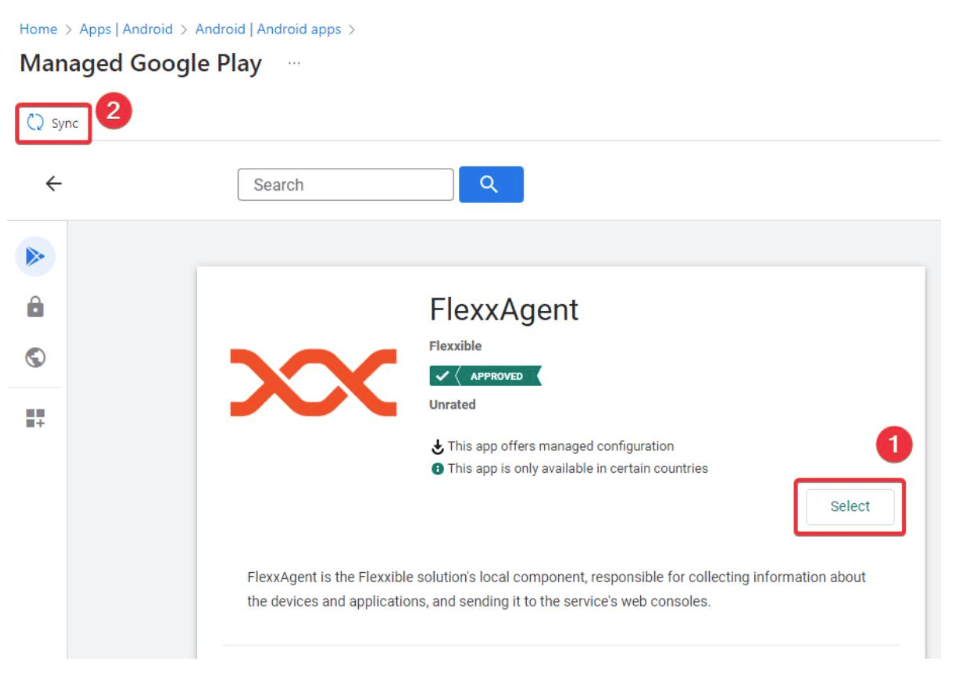
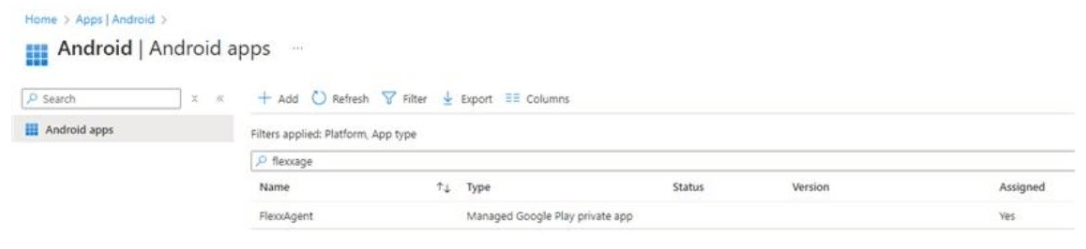
- After synchronization, FlexxAgent will appear in the list of available applications.
Configure the application
Select FlexxAgent and complete the deployment configuration based on your organization’s needs.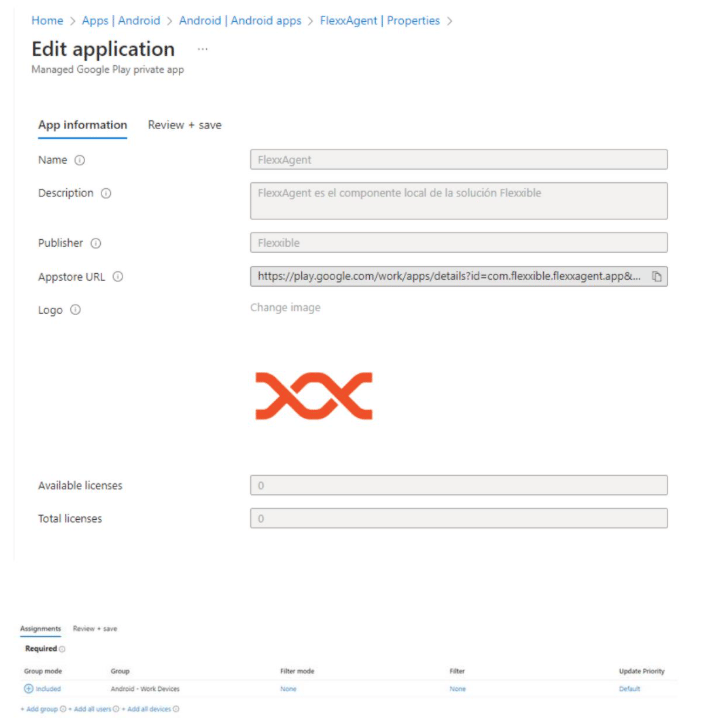
Create the configuration policy
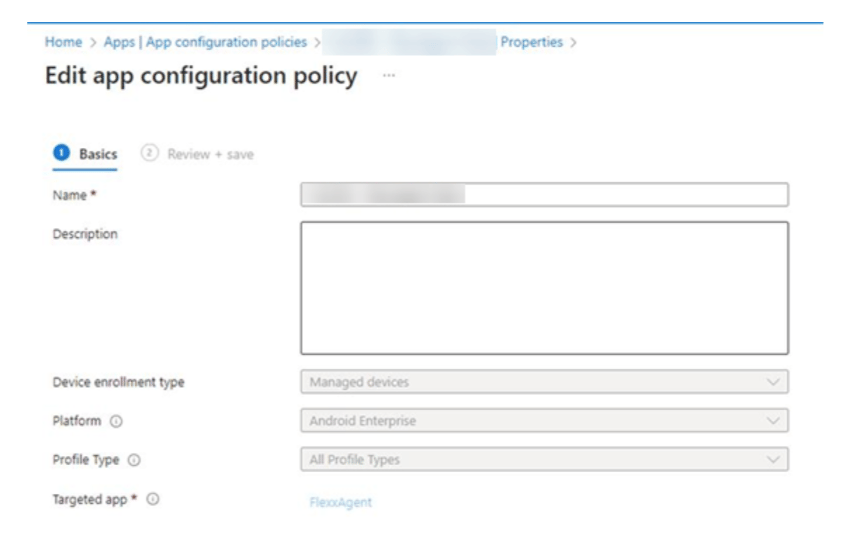
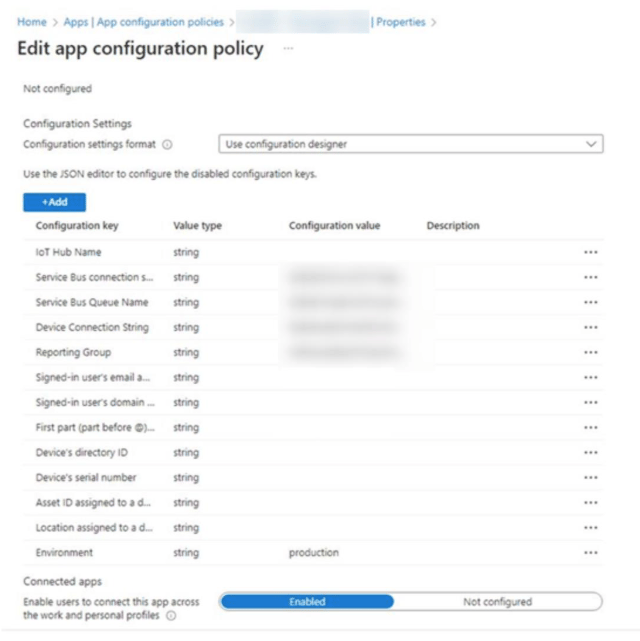
FlexxAgent requires a managed configuration policy to receive the parameters needed for it to work. The configuration values can be obtained in two ways:-
By extracting them from the
.conffile generated when downloading FlexxAgent. - By requesting them from a Flexxible contact during the implementation process.
Get the parameters from the configuration file
- Download FlexxAgent for Windows, Linux, or macOS.
-
Open the configuration file (
.conf) included in the download. -
Extract the following values:
-
Required parameters
- IHName → iQN
- QScstr → sbCS1 + ”|”+ sbCS2
- QueueServiceName → sbN
- IHcstr → iCS1 + ”|”+ iCS2
- Rg → rg
- environment → production
- Optional parameters
- user_email →
"{{userprincipalname}}". In Google Workspace you can use"$LOGIN_EMAIL" - user_email_name →
"{{userprincipalname}}". In Google Workspace you can use"$LOGIN_EMAIL" - user_email_domain → User’s domain
- device_id → Device identifier
- device_serial → Device serial number
- device_asset → Inventory identifier
- device_location → Device location
-
Required parameters
Configure the policy in Intune
Enter the obtained parameters in the Microsoft Intune managed configuration policy.