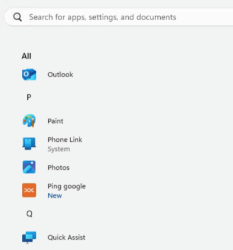
How to enable a microservice for end users
-
Go to the Microservices → Enabled menu.
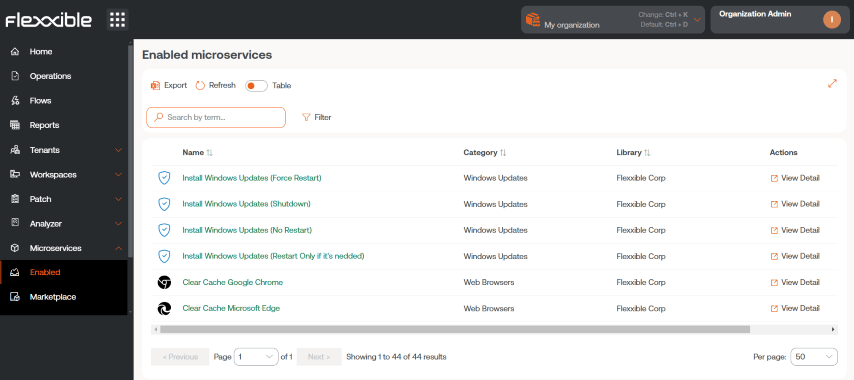
- Select the microservice you want to enable by clicking its name (if they are organized as blocks) or the View detail link (if they are organized in a list). The microservice detail will then be displayed (in the example, “Clean disk”).
- Select the Recipients tab, which shows the execution permissions and recipients for this microservice.
- Click the Edit button at the bottom right, inside the End-user execution section. A modal window will appear with the option to configure execution.
-
In the panel, enable end-user execution of the microservice and select one or more Workspace groups where this option will be valid.
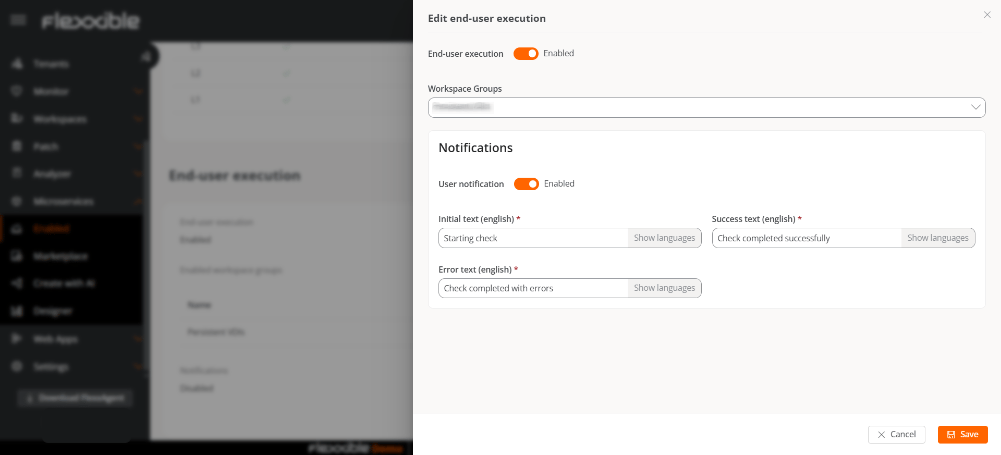
Notifications
This option lets you define whether the user will be notified when the microservice starts running and when it finishes, either successfully or with errors. To do so, enable User notification and complete the following fields:- Initial text. Message shown when the microservice starts running.
- Success text. Message shown when execution finishes successfully.
- Error text. Message shown when execution finishes with errors.
-
After clicking Save, within the next few minutes, the new microservice will appear as a new operating system option inside the Flexxible folder in the Start menu.
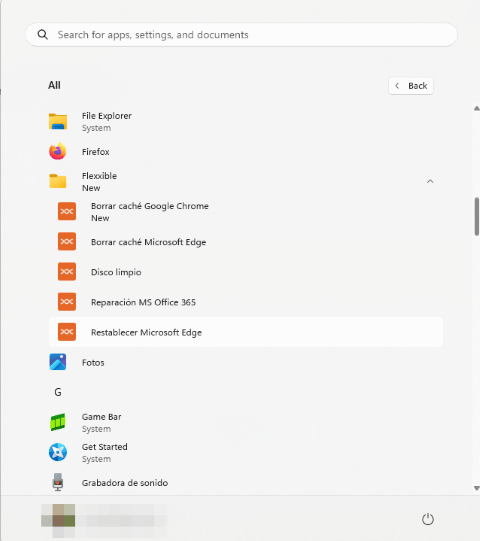
Change the name of the microservices folder
- Go to Settings → Organization.
- In the left-hand side menu, select Microservices → Edit microservices configuration.
- Change the folder name.
- Click Save.
Considerations
- The chosen name must be between 3 and 50 characters and may only contain letters, numbers, hyphens, and underscores.
-
If the device runs Windows 11 as its operating system and only one microservice is enabled for an end user, the Flexxible folder will not be displayed; instead, only the microservice icon will be shown in the Start menu.