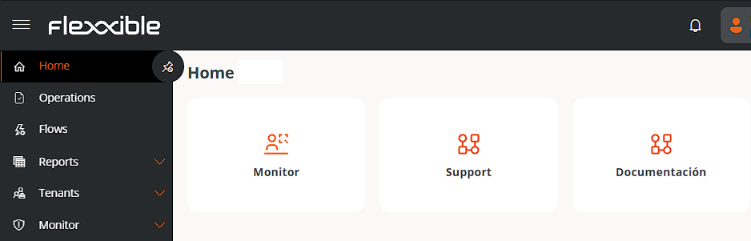
Support centralizes communication with the team in charge of handling incidents, questions, and requests. To access this feature, your account must have the corresponding access enabled. Once you have signed in to the platform, go to the Support shortcut available on the Home page. support

Opening a case

When you click Support, the creation form opens. Depending on the permissions available, you can select the affected account or submit the request on behalf of another person.

Required information

FieldDescription
Reported byUser submitting the request.
AccountAvailable for MSP profiles that manage multiple accounts. Lets you select the one the case will be opened for.
ContactUser affected by the incident, question, or request. Lets you submit the case on their behalf (on behalf of).
EnvironmentTenant or report group the related device belongs to.
ImpactImpact level. It can be High, Medium, or Low.
SubjectBrief description of the request.
DescriptionDetailed description. The more information you provide, the easier it will be to analyze and resolve the request.
You can also attach files, such as images or documents, from the bottom right of the form to provide additional information.

Follow-up

Once created, the case will appear in the My Tickets section of the main page, which displays both ongoing and resolved requests. This information is also available from the top menu, under the My Cases option.

Statuses

A case can be in one of the following statuses:
  • New. Recently created and pending attention.
  • Open. Being handled by the support team.
  • Resolved. Resolution proposed and pending confirmation by the user.
  • Closed. Definitively closed.
When a case moves to the Resolved status, you can:
  • Accept the resolution, which changes the status to Closed.
  • Reject the resolution, which returns the case to Open to continue handling.
To accept or reject the resolution, go to the case and select the corresponding option in the Actions section.