Set up Entra ID integration with Monitor
Monitor is the Flexxible monitoring module based on Grafana Cloud. Allows user access by invitation or through integration with Entra ID accounts. This guide describes the steps necessary to establish this integration.
Configuration in Microsoft Azure
- Create an application registration
- Create a client secret
- API permissions configuration
- Create application roles
- Review the manifest.xml file
Create an application registration
- Log in to Azure Portal.
- Select the tenant if you have access to multiple; to do this, click on
Switch directoryin the user menu.

- Once the subscription is selected, search for Microsoft Entra ID.
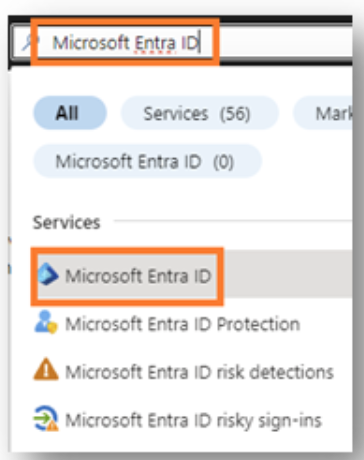
-
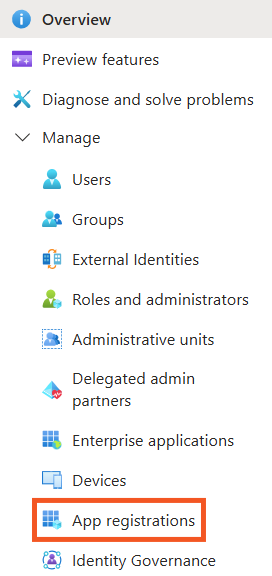
To the left of the interface, you will see the following menu:
-
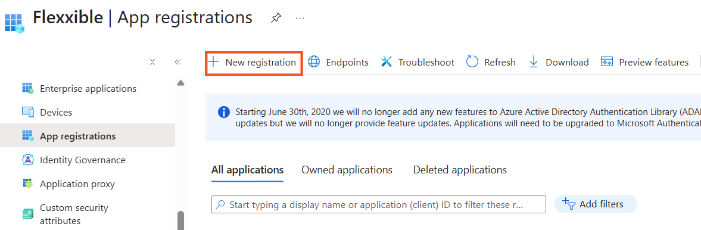
Click
Application registrations->New registration.
- Enter a name to register the application and select the compatible account type.
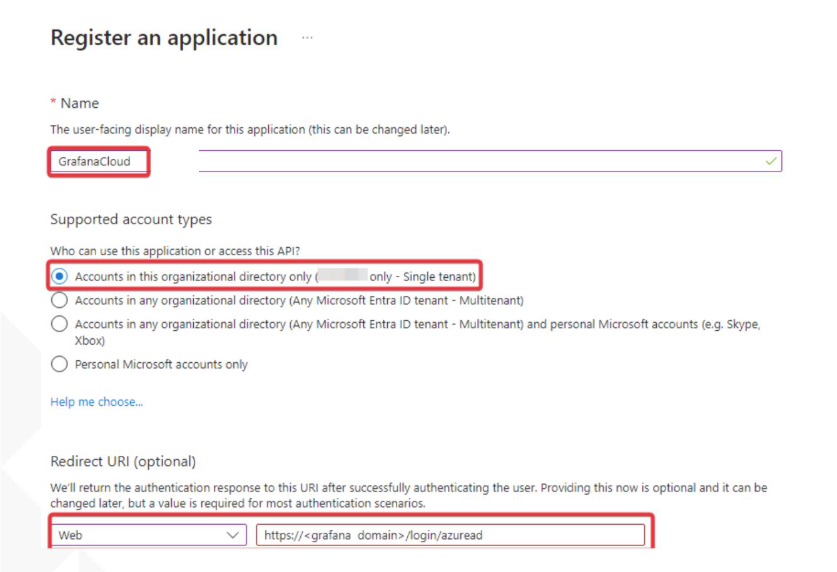
-
In Redirect URI select Web and add the following redirect URL:
https://<grafana domain>/login/azuread -
Click
Registerto complete the application registration.
Create a client secret
- Access
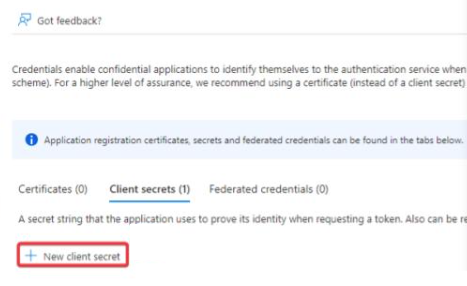
App registrations. - In the registration menu, click on
Manage->Certificates & Secrets->New client secret.

- In the Description field, write GrafanaCloud, and in Expires select 24 months.
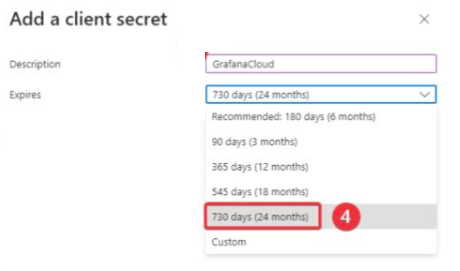
- Click
Add. - Copy the key value. This is the client secret value for OAuth.

API permissions configuration
The necessary permissions for the API should be defined.
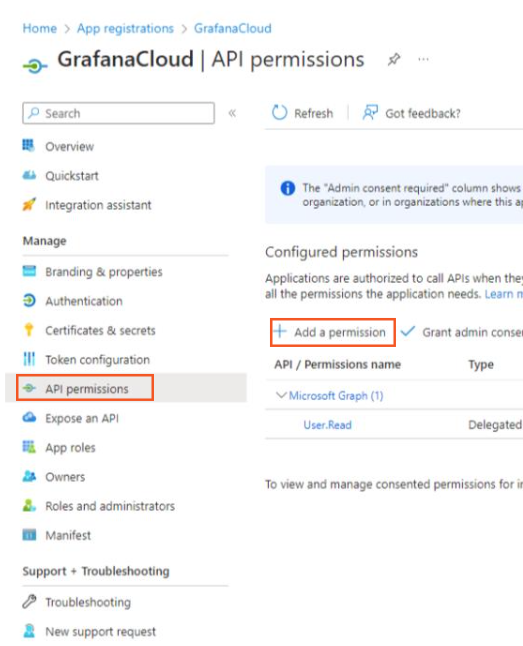
- Find the created application and in the menu click on
API Permissions->Add a permission.
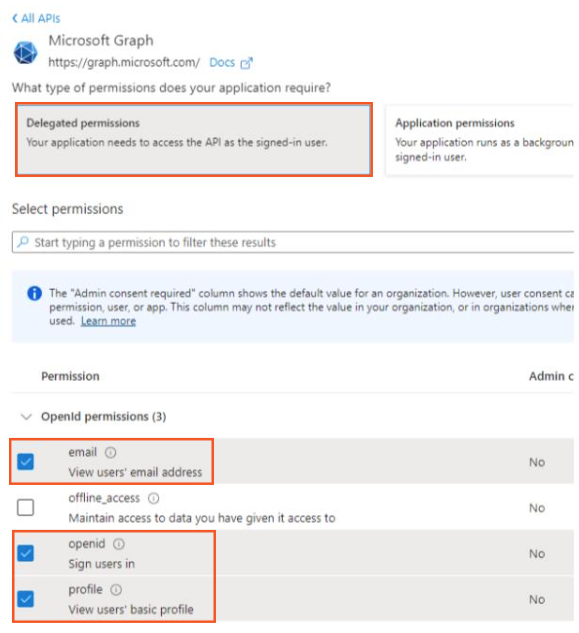
- Click on
Microsoft Graph->Delegated permissions. Selectemail,openid, andprofile.
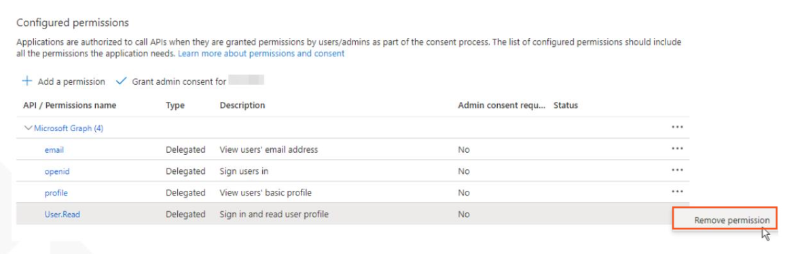
- Once added, select the default created permission and click on
Remove permission.
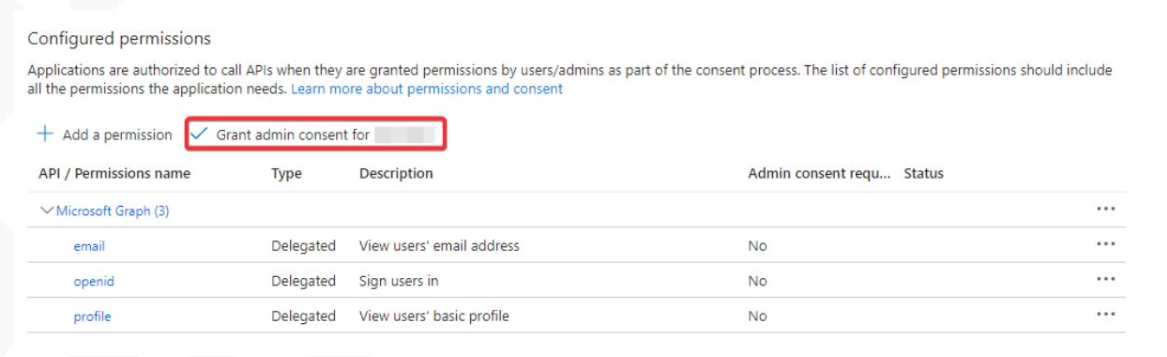
- Grant organizational permissions to
email,openid, andprofile.
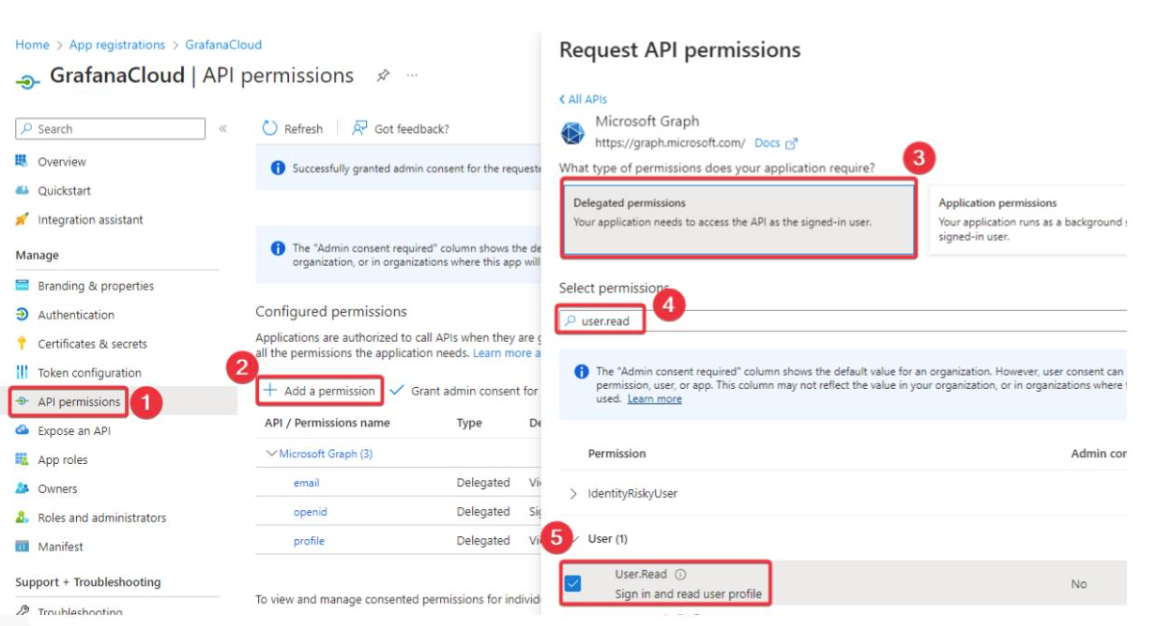
- Find the
User.Readpermission and add it so it can perform profile reading only.
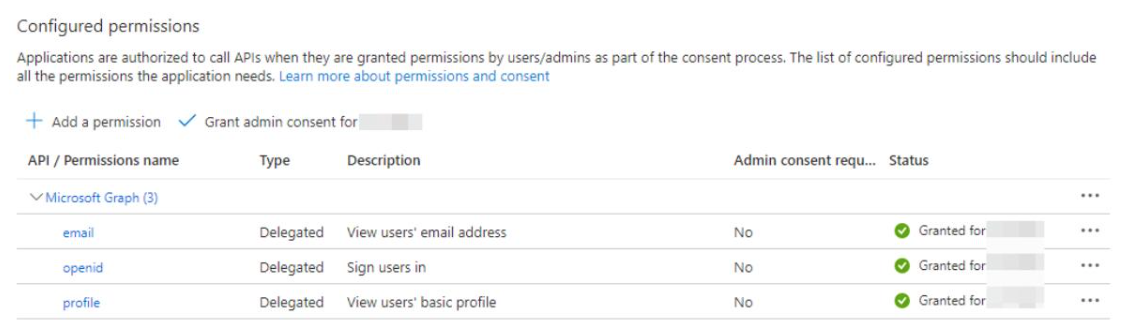
- After the configuration is done, the image should look like the following:

Create application roles
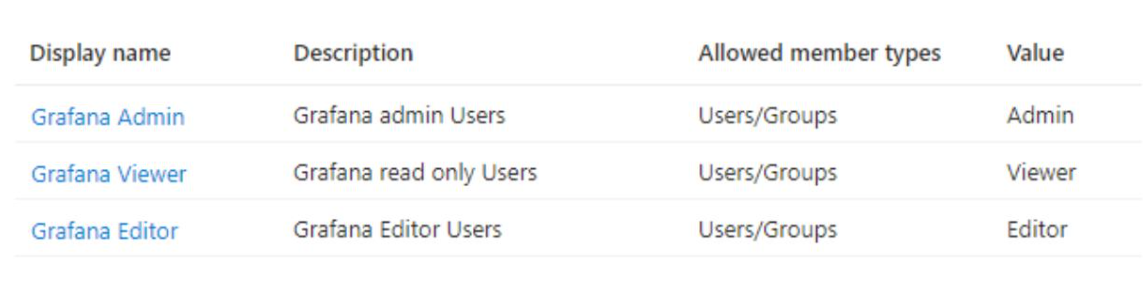
The following application roles for Grafana should be created:
-
In the menu, click on
Application roles->Create application role. -
In the
Create application rolepanel, configure each role.For Grafana Admin enter the following values:
- Display name: Grafana Admin
- Allowed member type: Users/Groups
- Value: Admin
- Description: Grafana admin Users
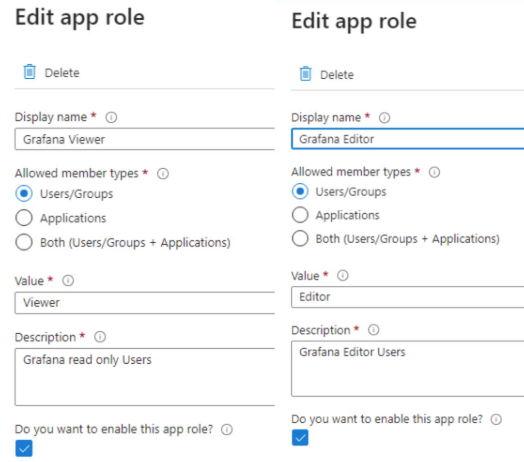
And for Grafana Viewer and Grafana Editor enter the values shown in the following image:
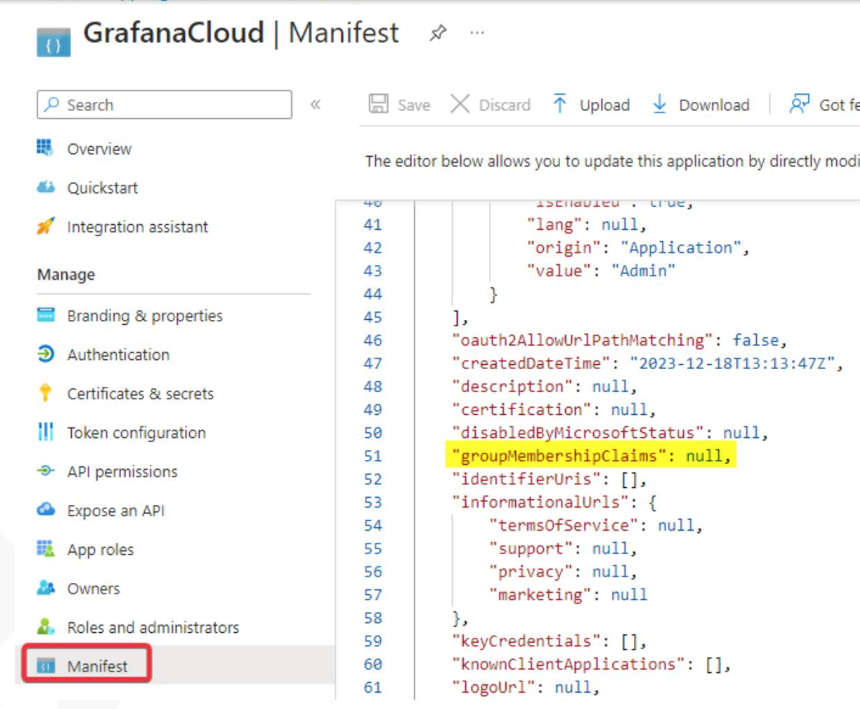
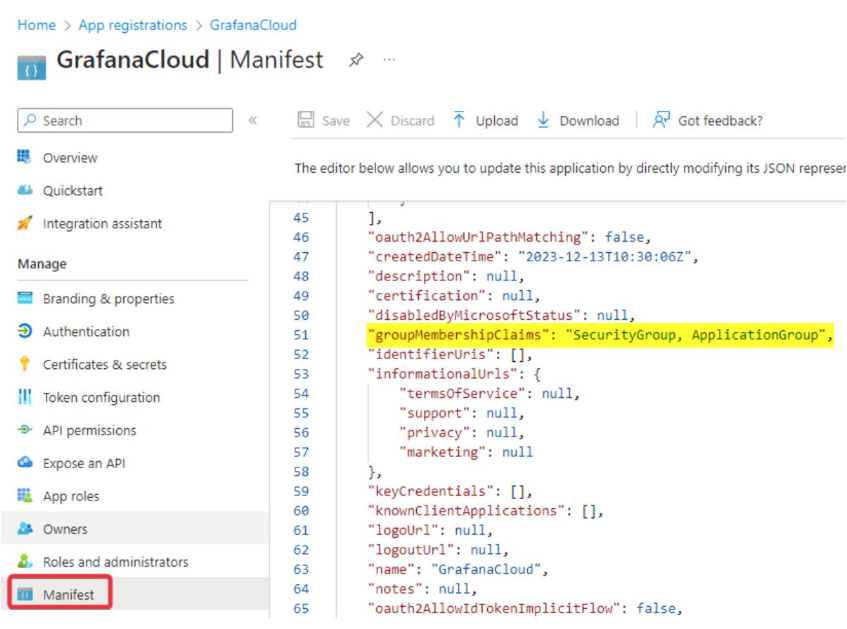
Review the manifest.xml file
The manifest.xml file must be reviewed to change the value of the key "groupMembershipClaims" from null (default value) to "SecurityGroup, ApplicationGroup".
Requirements
Once the application registration is done, the organization must provide the following parameters to Flexxible so that they can create the configuration in Grafana.
-
Endpoints
- OAuth 2.0 authorization endpoint (v2)
- OAuth 2.0 token endpoint (v2)
-
App registration
- Application (client) ID
-
Certification & Secrets
- Secret Value
-
Group ID to be configured
-
Domain to authorize