Set up integration with CrowdStrike
This guide details the processes for establishing CrowdStrike integration on the Flexxible platform.
API Configuration in CrowdStrike
-
Access the CrowdStrike portal.
-
In the menu, click on
Support and Resources->Api clients and keys.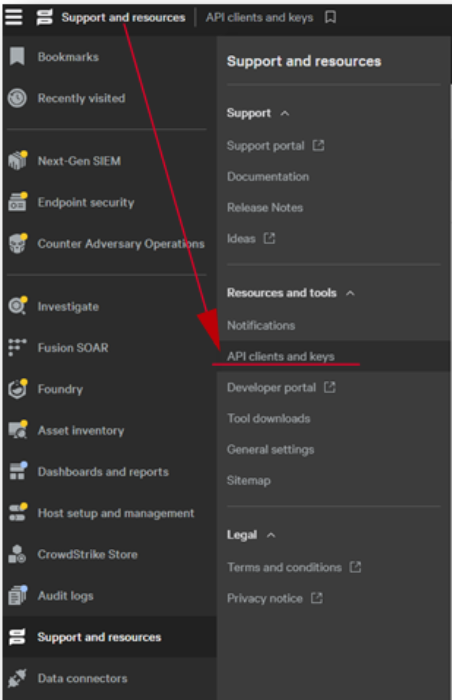
-
Select
Create API clienton the right side of the menu.
-
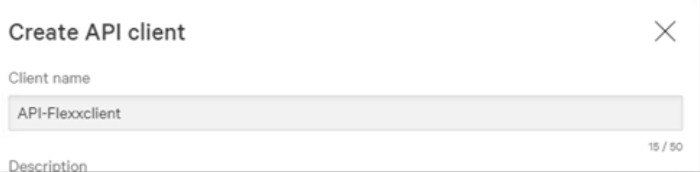
Assign a name to the API; the standard is API-Flexxclient.
-
Without leaving the menu, select the following fields in the READ column:
- Alerts
- Detections
- Hosts
- Incidents
- Quarantined Files
-
Click on
Create.
-
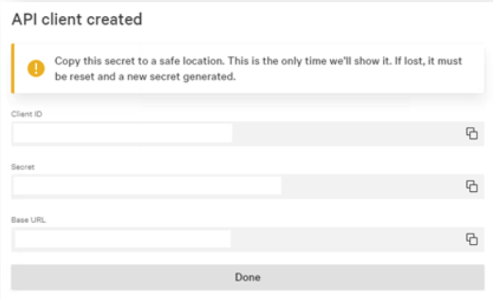
Copy the following three fields (they cannot be retrieved later).
- Client ID
- Secret
- Base URL
Configuration in Portal
To perform the integration from Portal, the user must have at least the role of Organization Administrator.
-
Log in to Portal.
-
In the user menu, select the organization/tenant where you want to enable the integration.
-
Go to
Settings->Integrations-> CrowdStrike section.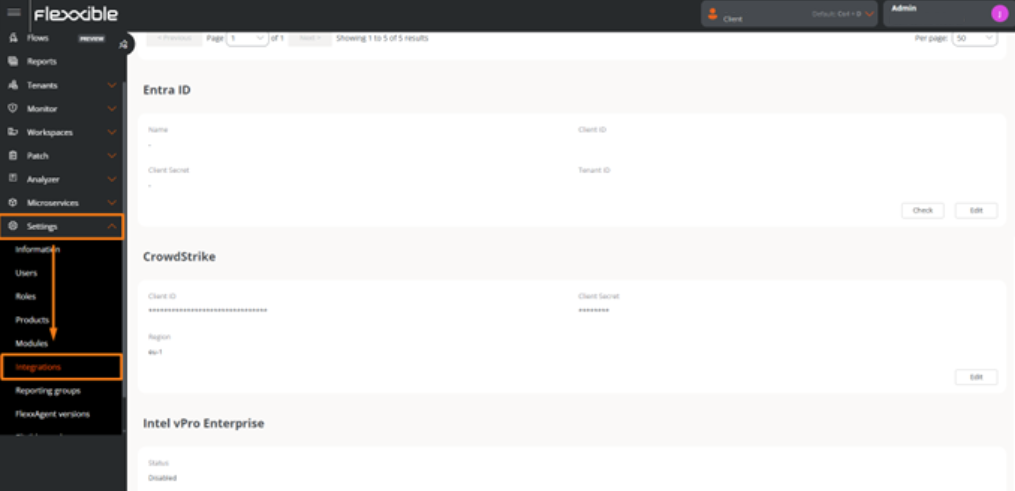
-
Click on
Editand enter the following information:
-
API Client ID. Unique identifier that represents the client on the CrowdStrike platform.
-
Secret String. Secret key associated with the client ID.
-
Region. Geographic location of the customer's cloud environment. The field offers options like eu, eu-1, us-gov-1, us-1, and us-2. Select the CrowdStrike region.
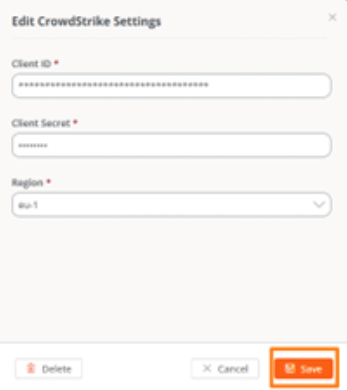
- Click on
Save.
Integration with CrowdStrike can be done at the tenant level, allowing you to set up a different account for each one. If the integration is done at the organization level, it will extend to all its sub-organizations.
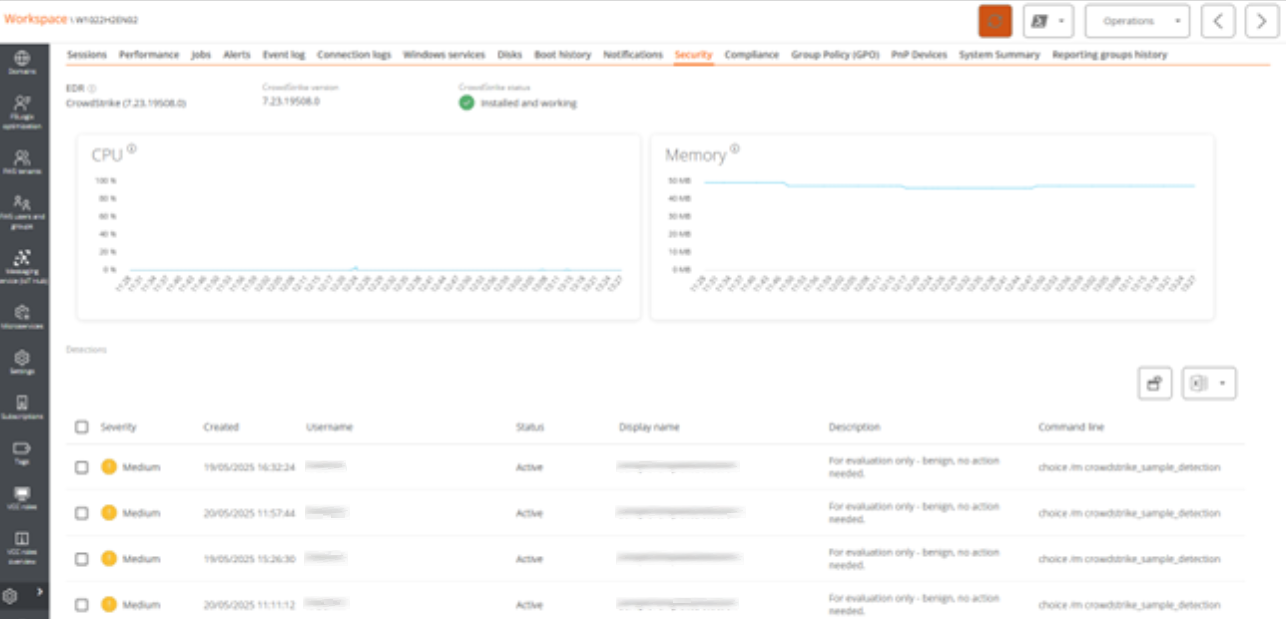
View from Workspaces
Once the integration is set up, devices with Endpoint Detection and Response (EDR) installed and running will be marked with the Falcon icon.

If the EDR generates an alert, the Falcon icon will appear red.

Alert Details
To review the details of the alerts and the resource consumption of the EDR, follow these steps:
- Access the Workspaces module ->
Workspaces. - Choose a device and click on it.
- Scroll down and click on the
Securitytab.