Configure integration with Entra ID
This guide details the processes necessary to establish integration with Entra ID on the Flexxible platform.
Requirements for integration
For the integration to work correctly, the application ID (App ID) requires Global Reader permission at the Microsoft Entra ID level, Contributor permission at the Azure subscription level, and Owner permission in the resource group where Workspaces is deployed.
Configuration in Microsoft Azure
Integration with Entra ID requires the following steps to be followed in the Microsoft Azure environment:
- Create an application registration
- Create a client secret
- Configure permissions for the application registration
- Permissions in the Azure subscription
Create an application registration
-
Log in to Azure Portal.
-
Select the tenant if you have access to multiple; to do this, click on
Switch directoryin the user menu.
-
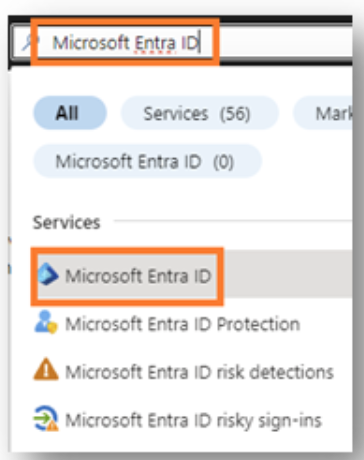
Once the subscription is selected, search for Microsoft Entra ID.
-
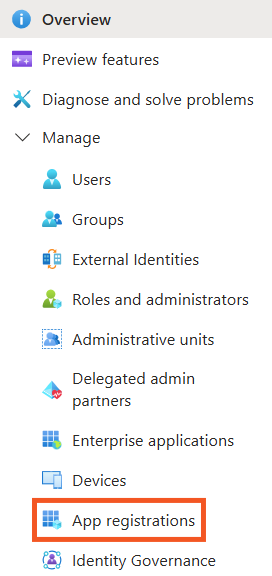
To the left of the interface, you will see the following menu:
-
Click
Application registrations->New registration.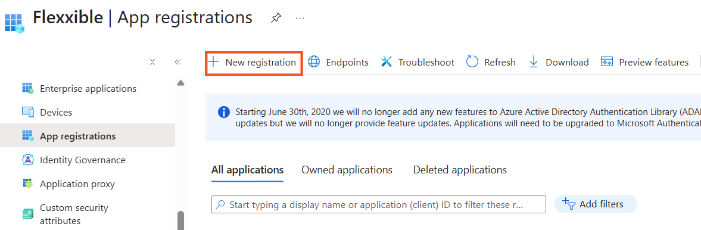
-
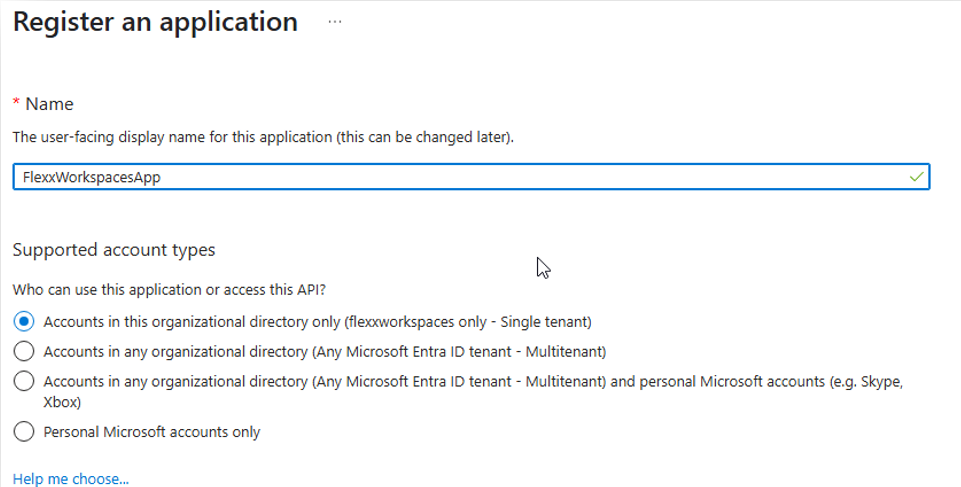
Enter a name to register the application and select the supported account type.
-
Click
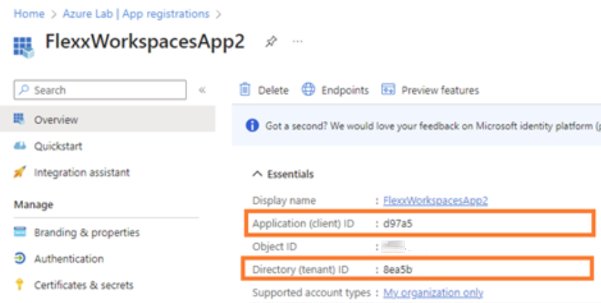
Registerto complete the application registration. -
Copy and save the Application ID (App ID) and the Directory ID (tenant).
Create a client secret
-
Access
App registrations. -
In the menu, click
Manage->Certificates & secrets->New client secret.

-
Add a description and in the Expires field, select 24 months.
-
Click
Add. -
Microsoft will provide the client secret and the client ID. You need to save these values because they will not be shown again. If not saved, the client secret must be deleted and a new one created to obtain the value.

Configure permissions for the application registration
-
Log in to Azure Portal.
-
Click on Microsoft Entra ID.
-
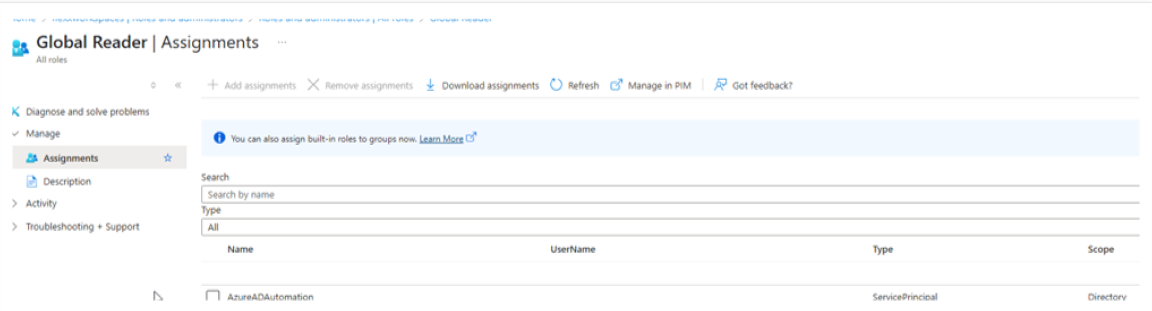
Click
Manage->Roles and administrators.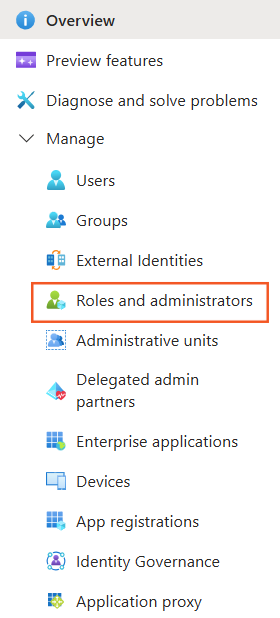
-
Search and select the
Global Readeroption.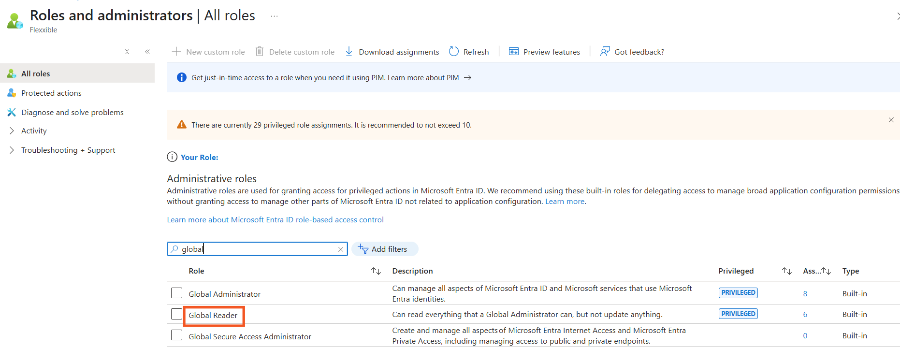
-
Click on
Add assignmentsand add the application ID (App ID) created in the previous step.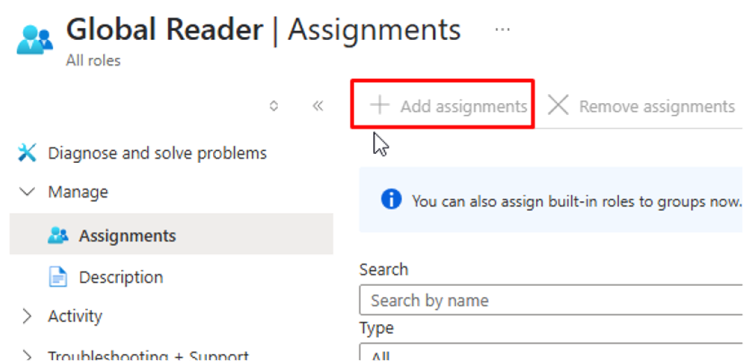
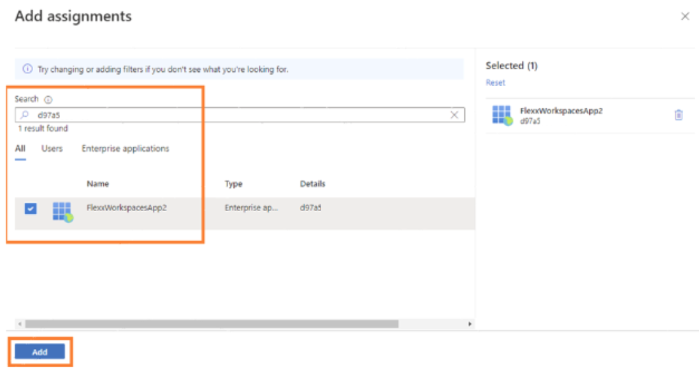
-
Verify that the application is configured on the main dashboard.
Permissions in the Azure subscription
-
Log in to Azure Portal.
-
Click
Subscriptions.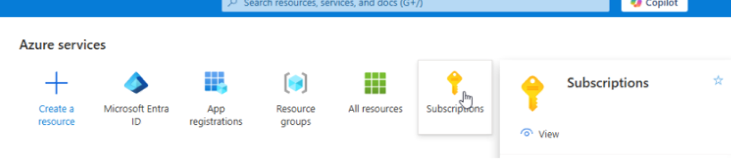
-
Click
Access control (IAM)->Add->Add role assignment.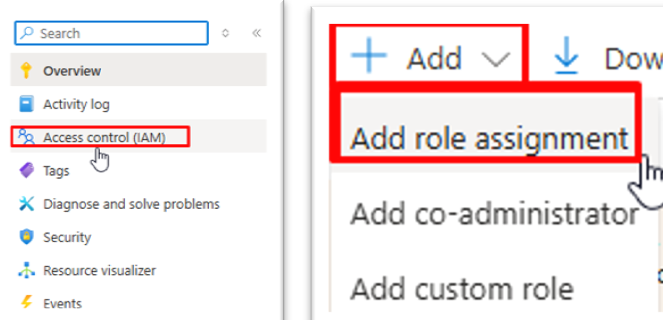
-
In
Role->Function role, search and selectReader.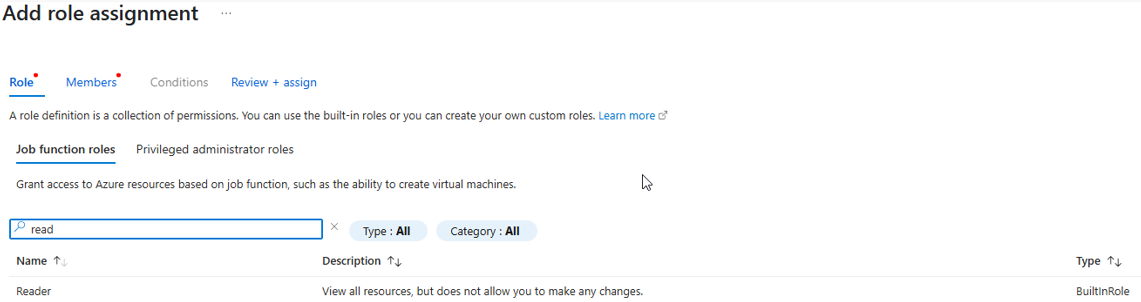
-
In
Membersselect the application ID (App ID) created in the previous step.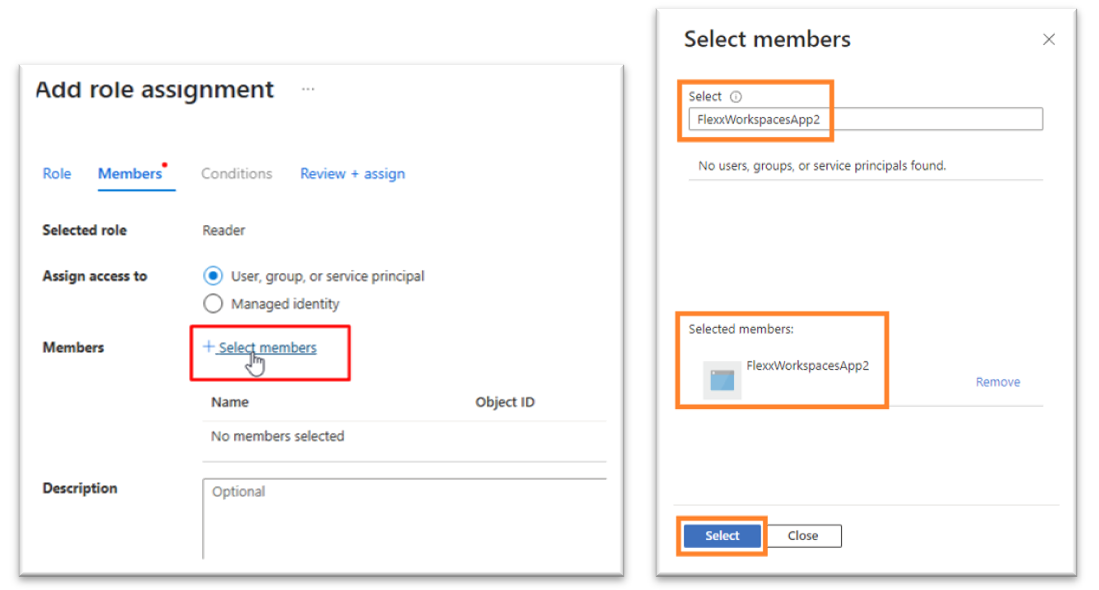
-
Review and assign the role.
Configuration in Portal
To perform the integration from Portal, the user must have at least the role of Organization Administrator.
-
Log in to Portal.
-
In the user menu, select the organization/tenant where you want to enable the integration.
-
Go to
Settings->Integrations-> Entra ID section.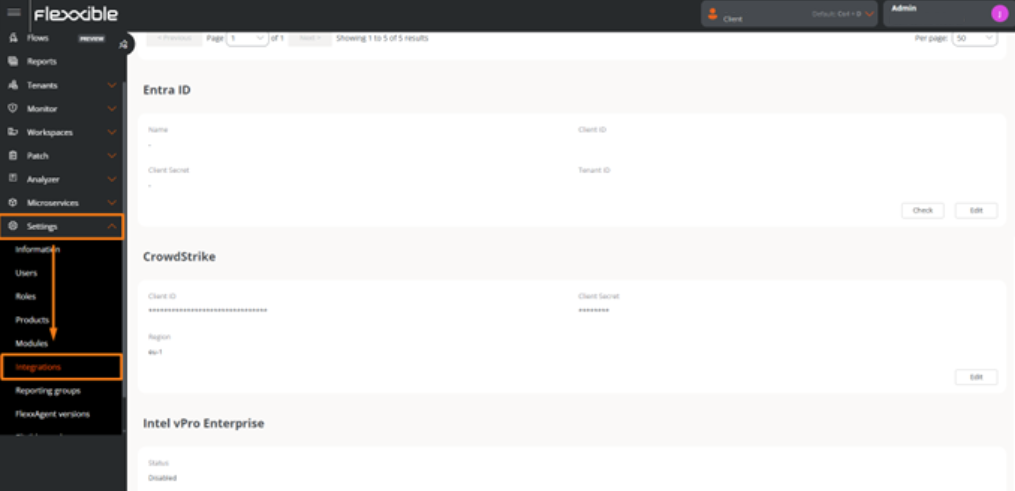
-
Click on
Editand enter the following information:- Id. of application (client). Client ID.
- Secret string. Client secret used for authentication.
- Id. of directory (tenant). Azure tenant ID.
-
Click on
Save.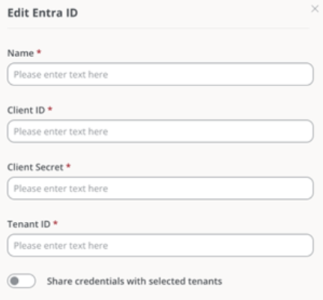
For these credentials to be used in sub-organizations, Share credentials with the selected tenants must be enabled; otherwise, new credentials must be created for each sub-organization.