Validate FlexxAgent connectivity
To validate the connectivity of FlexxAgent with the service's SaaS instances and ensure its correct execution, follow the procedure defined here on a test device. This must be part of the same corporate network where the devices that will receive the future deployment of FlexxAgent are hosted.
Note: This procedure only applies to Windows systems.
Creating a scheduled task
-
Access the
Runmenu (Windows + R) and type the commandtaskschd.msc. This opens the Windows task scheduler management console.
-
In the
Actionspanel, select theCreate Basic Taskoption and name the task (it can beFlexxAgent check connectivity). You can write a description if desired, and clickNext. -
Next, select
One Timeand clickNext. A date picker will appear, but it is not relevant because the task will be executed manually. ClickNext.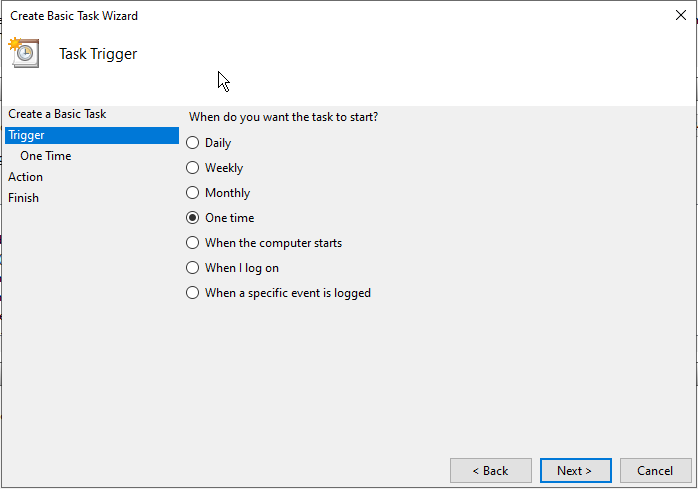
-
Select the
Start a programaction and clickNext.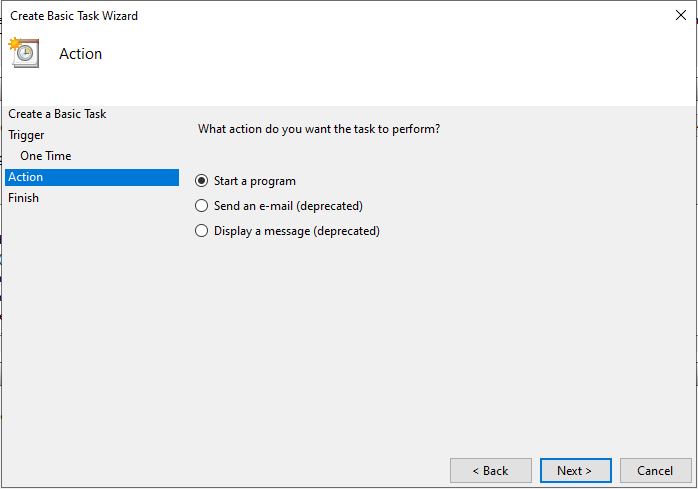
-
In the
Program/scriptfield, type or browse to the pathC:\Program Files\Flexxible\FlexxAgent\FlexxAgent.exe. InAdditional Arguments, type/TestMessagingEngine. ClickNext.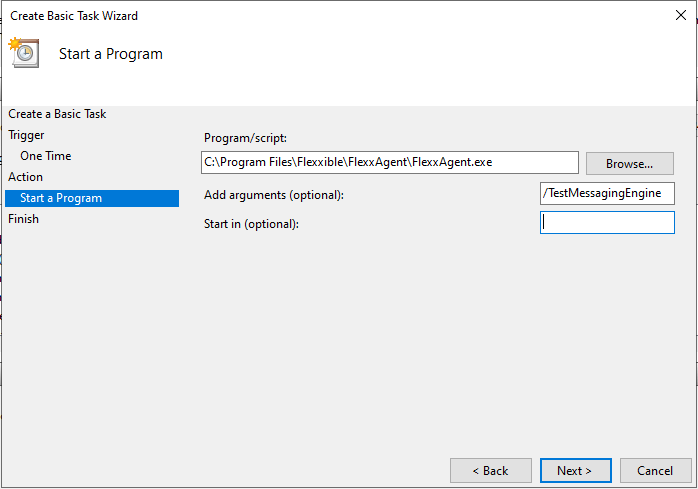
-
Select
Open the Properties dialog for this task when I click Finishand clickFinish. The task properties dialog will open.
-
Click on
Change User or Group. In the text box of the pop-up window, typeSYSTEMand then clickCheck Names. This action will check that theSYSTEMgroup exists to run the task under its identity. Hacer clic enAceptar(OK) para cerrar la ventana emergente. En la ventana de propiedades, se debe seleccionarEjecutar con los privilegios más altosen el checkbox y pulsarAceptar.
-
In the Windows task scheduler management console, search for the newly created task
FlexxAgent check connectivity. Right-click on it and selectRun. It will appear asRunningin the task list.
-
Select the
Historytab to see the progress of the task until you see theTask completedevent. In case the history is disabled, it can be enabled with theEnable history for all tasksoption in the right panel of the console.
Validation of results
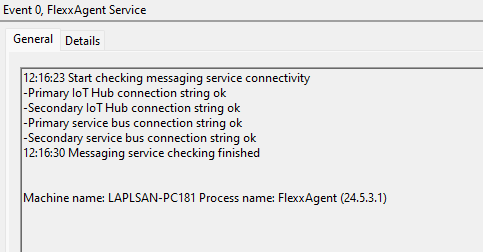
To review the FlexxAgent messaging engine information, access the Event Viewer and check for informational messages with the source service of FlexxAgent Service:
-
Access the
Runmenu (Windows + R) and typeeventvwr.msc. This command will open the Windows event viewer. On the left side, selectWindows Logs->Application.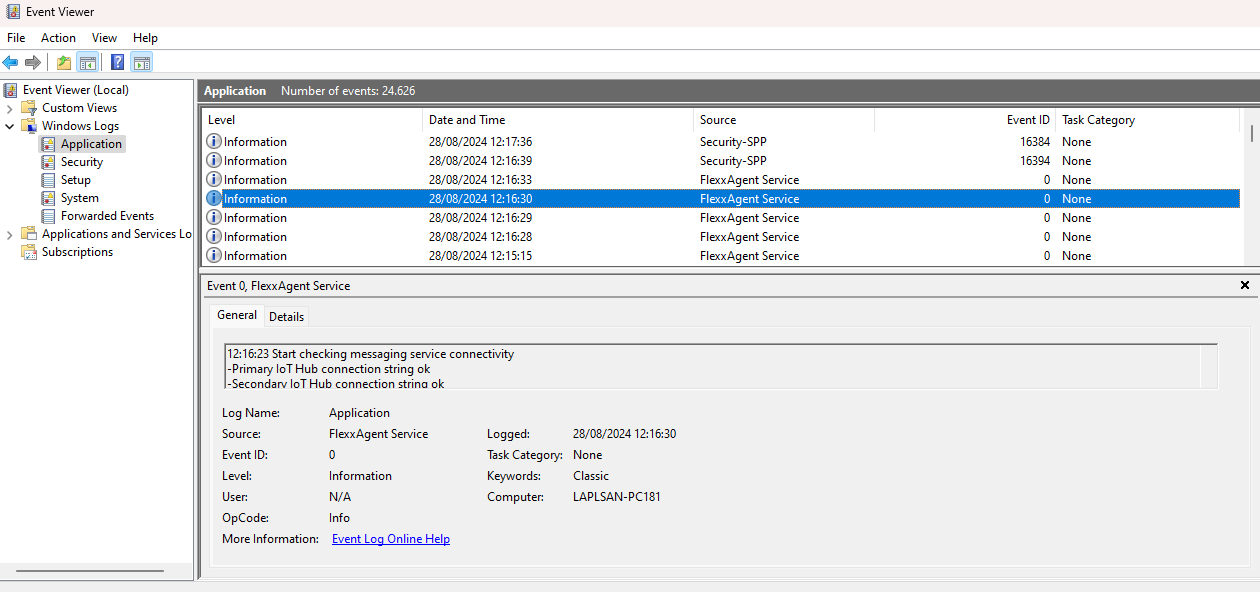
-
In the list, search for the
FlexxAgent Serviceevent. If there are several, select the one reporting connectivity. This event reports the status of all connections: