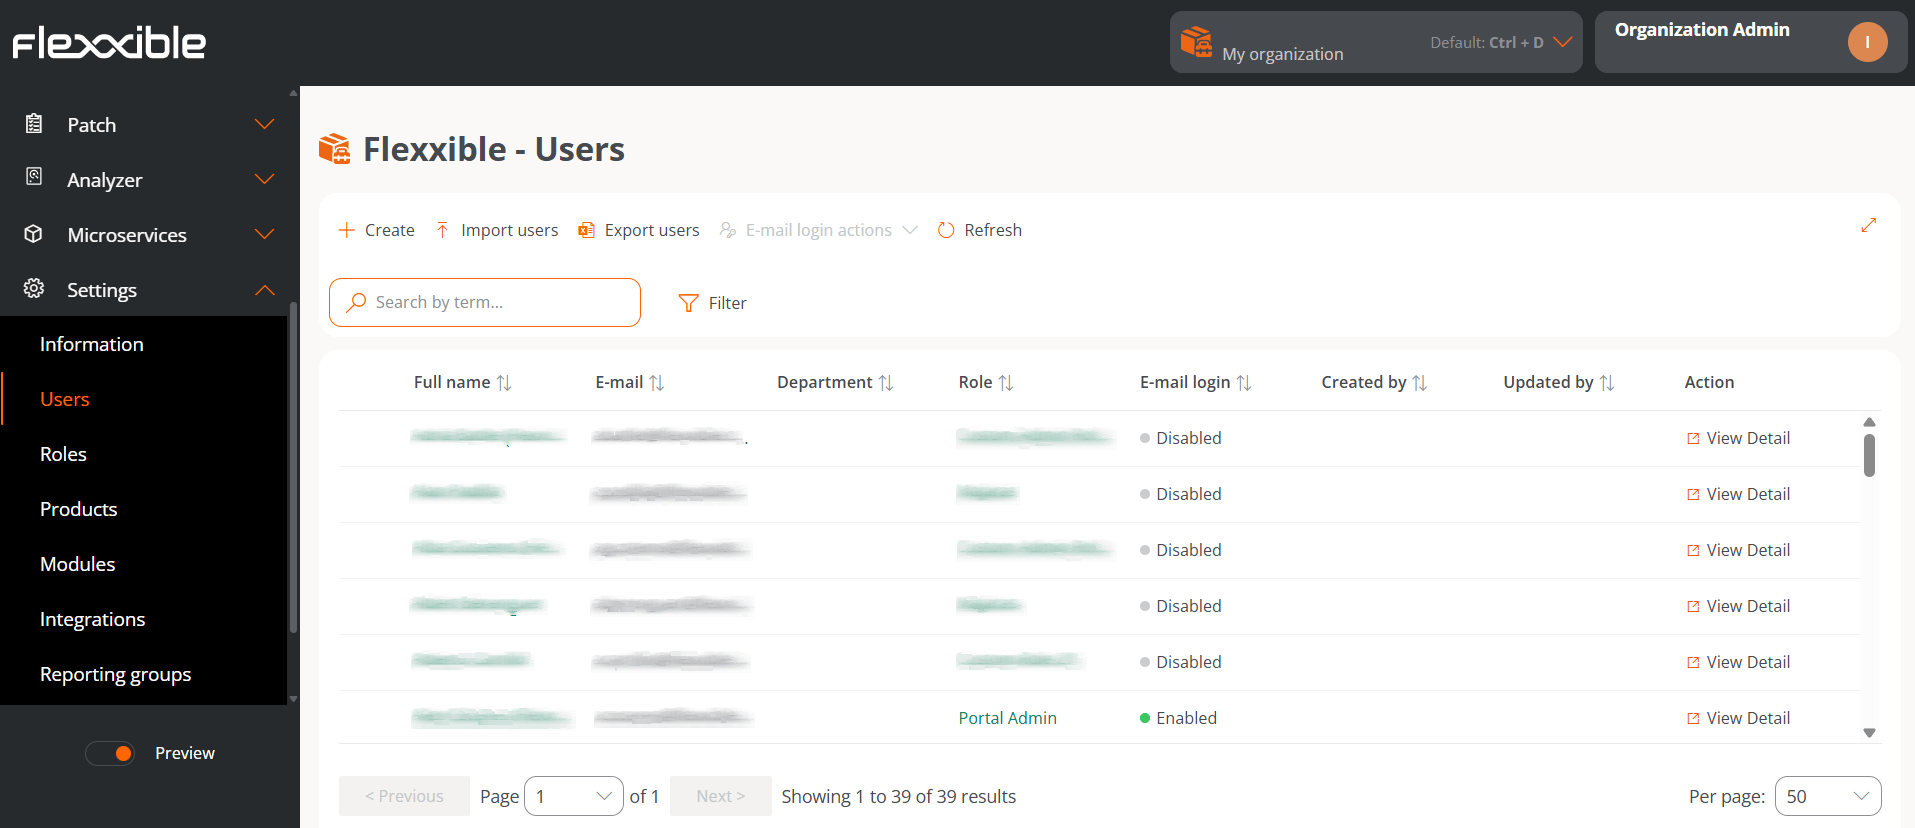
- Full name. User’s first and last name.
- Email. User’s email.
- Department. Department the user belongs to within their organization.
- Role. Role type assigned to the user.
- Email sign-in. Indicates whether the user has sign-in to the Flexxible consoles Enabled or Disabled using an email address and password.
- Created by. Name of the person who created the user.
- Updated by. Name and email address of the last user who updated the information.
- View details. Opens a form to edit the user’s data and even delete it, depending on the role assigned to the user.
Create users
In the list view, the New button will open a window with a form to fill in the fields with the information for a new user. In addition to the first name, last name, and email, you must assign them a user role with which they can access the platform, as well as the language they will use in the console and the department the user belongs to within the organization.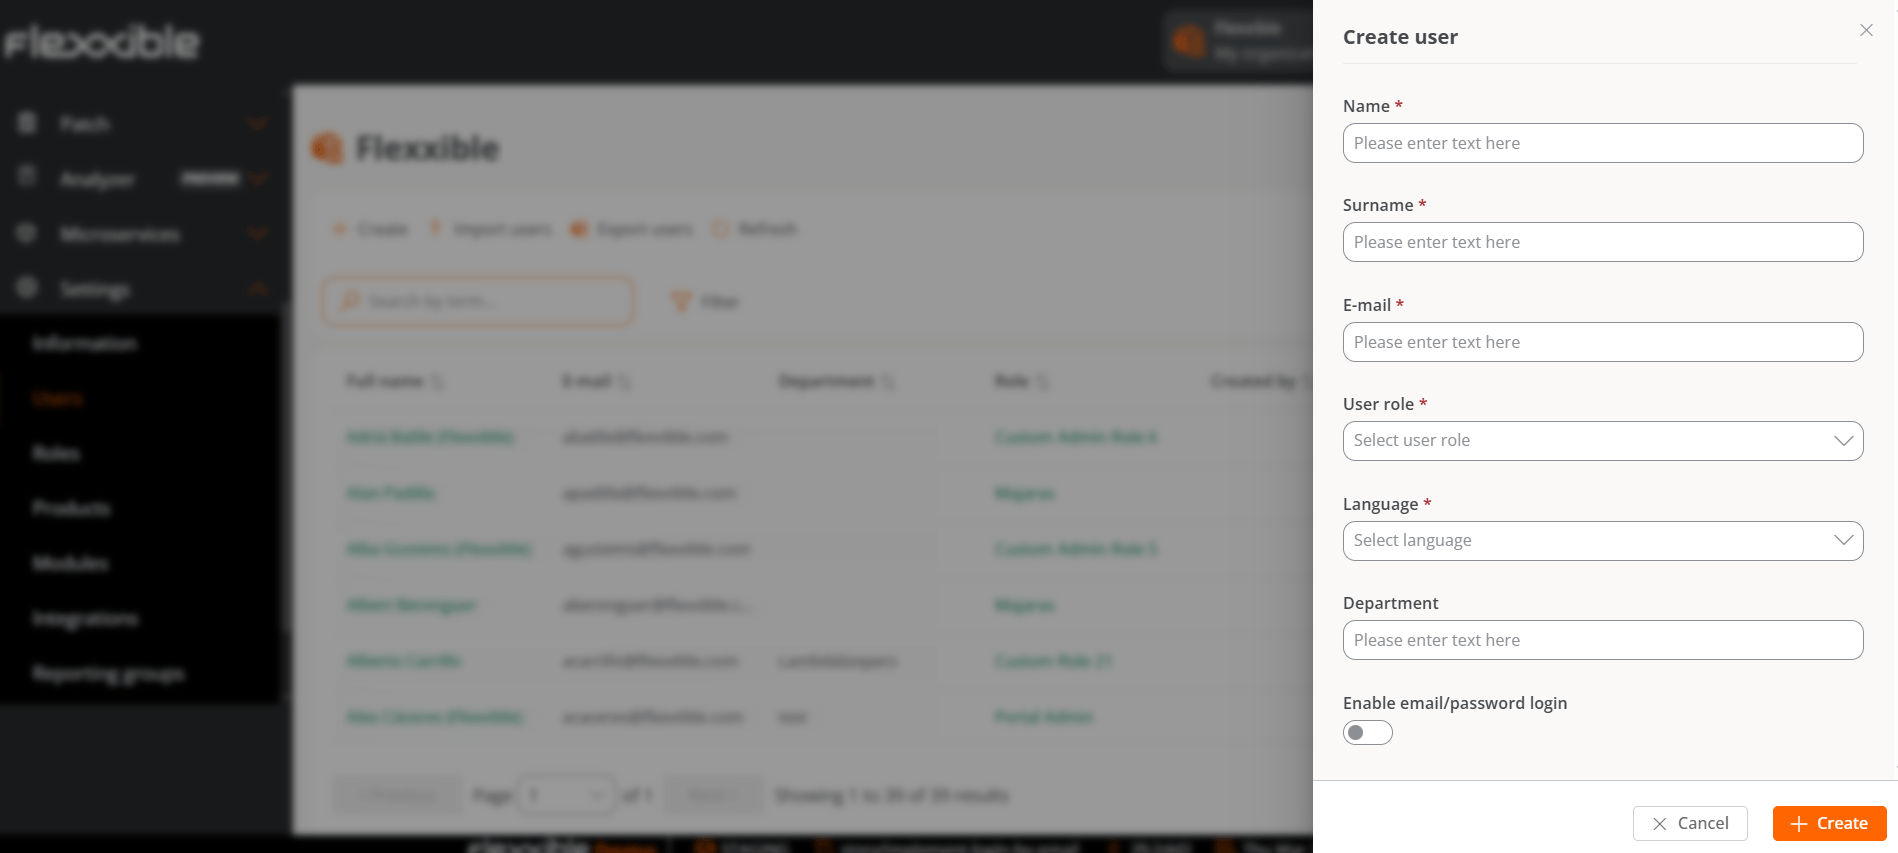
Create a batch of users
If you want to add multiple users at the same time, you must click Import users. This action lets you select a file from the device. If you want to perform a bulk import, Flexxible recommends first exporting to obtain the Excel file with the appropriate format. From there, you only need to complete it with the required changes and finally import it.Export users
To export the list of users displayed in the list view, simply press Export users. This action will download an Excel file with the list of the organization’s users and their respective data.Delete users
To delete a user:- Go to Settings → Users.
- In the table, click View details.
- Go to Settings → Users.
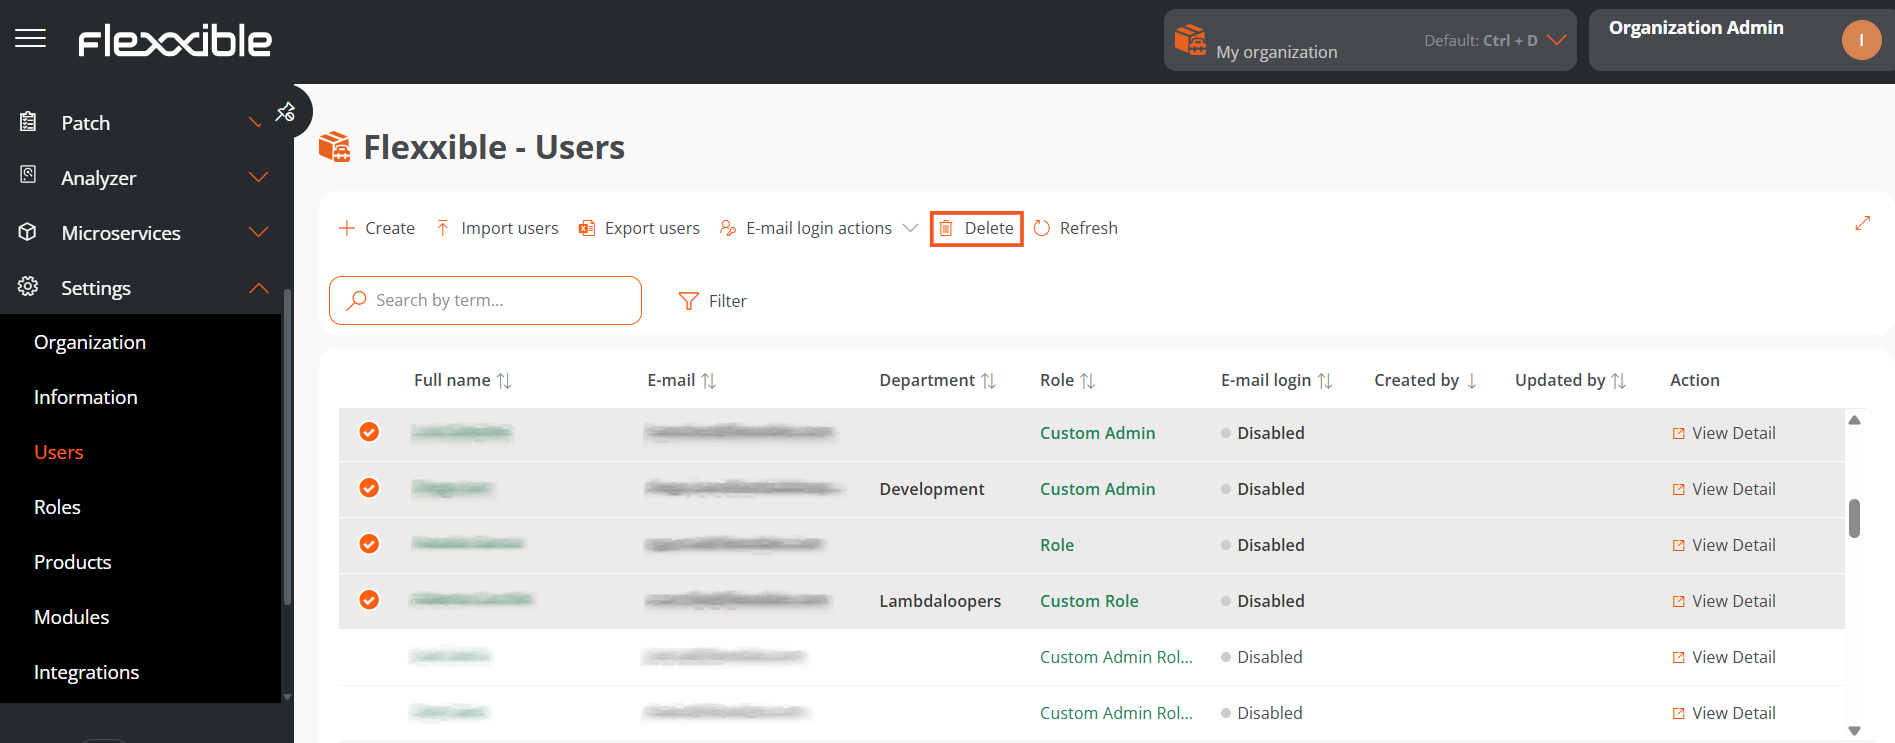
- Select the users you want to remove.
- In the top menu, the Delete button will be enabled.
- Click Delete.
Email sign-in actions
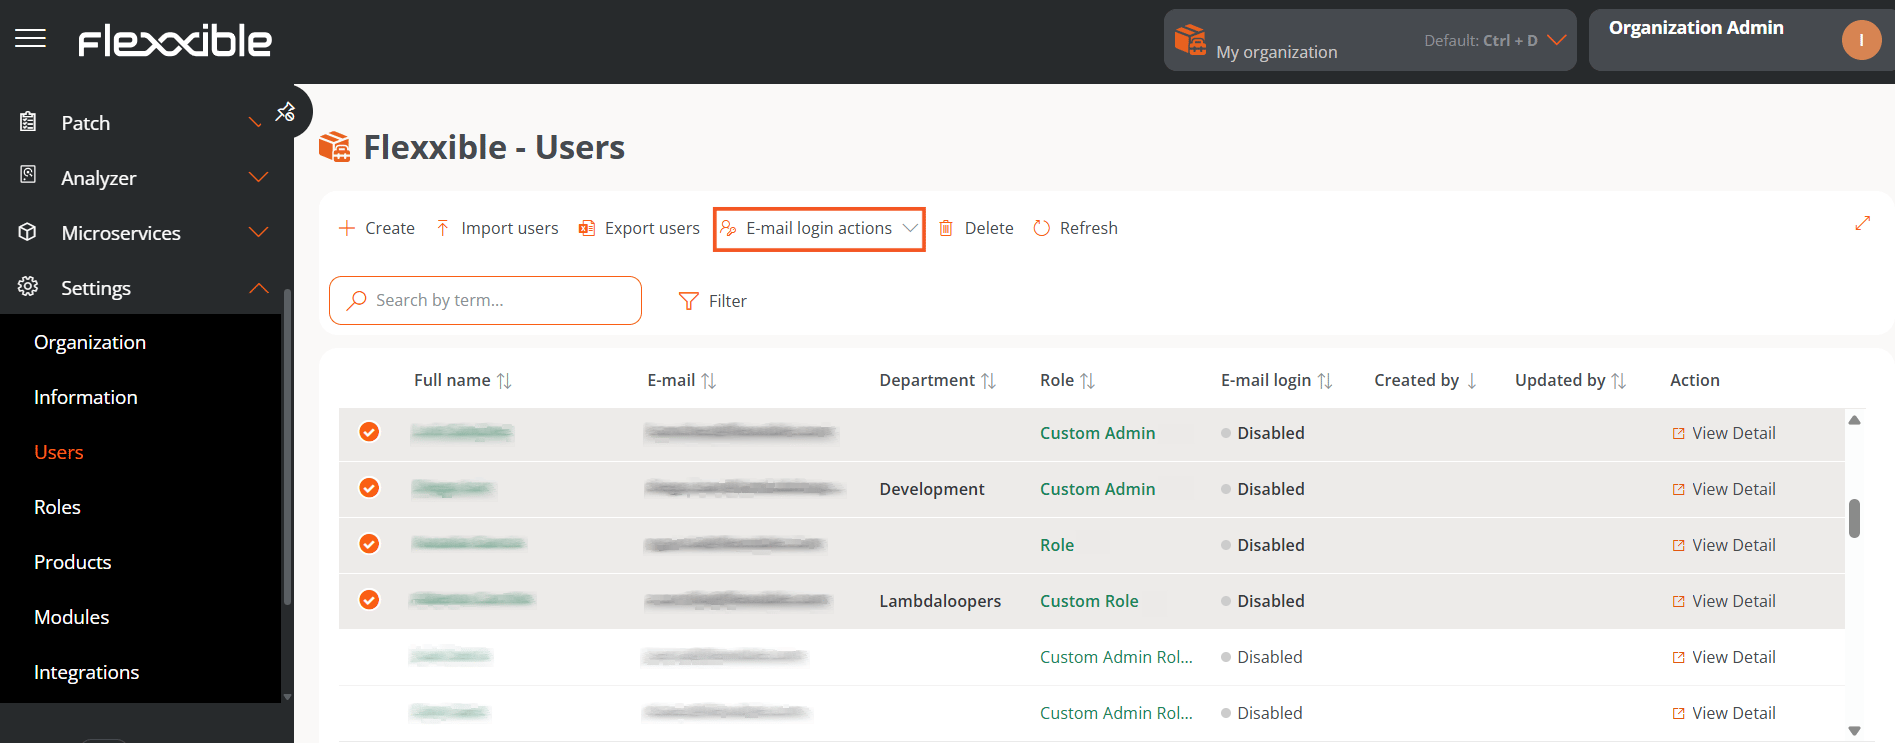
Users with the Organization administrator permission can enable email and password sign-in for the users in the organization.