Workspace groups
Workspace Groups make device management easier for organizations, allowing them to group devices based on shared characteristics or specific criteria to monitor statistics more thoroughly and execute effective actions.
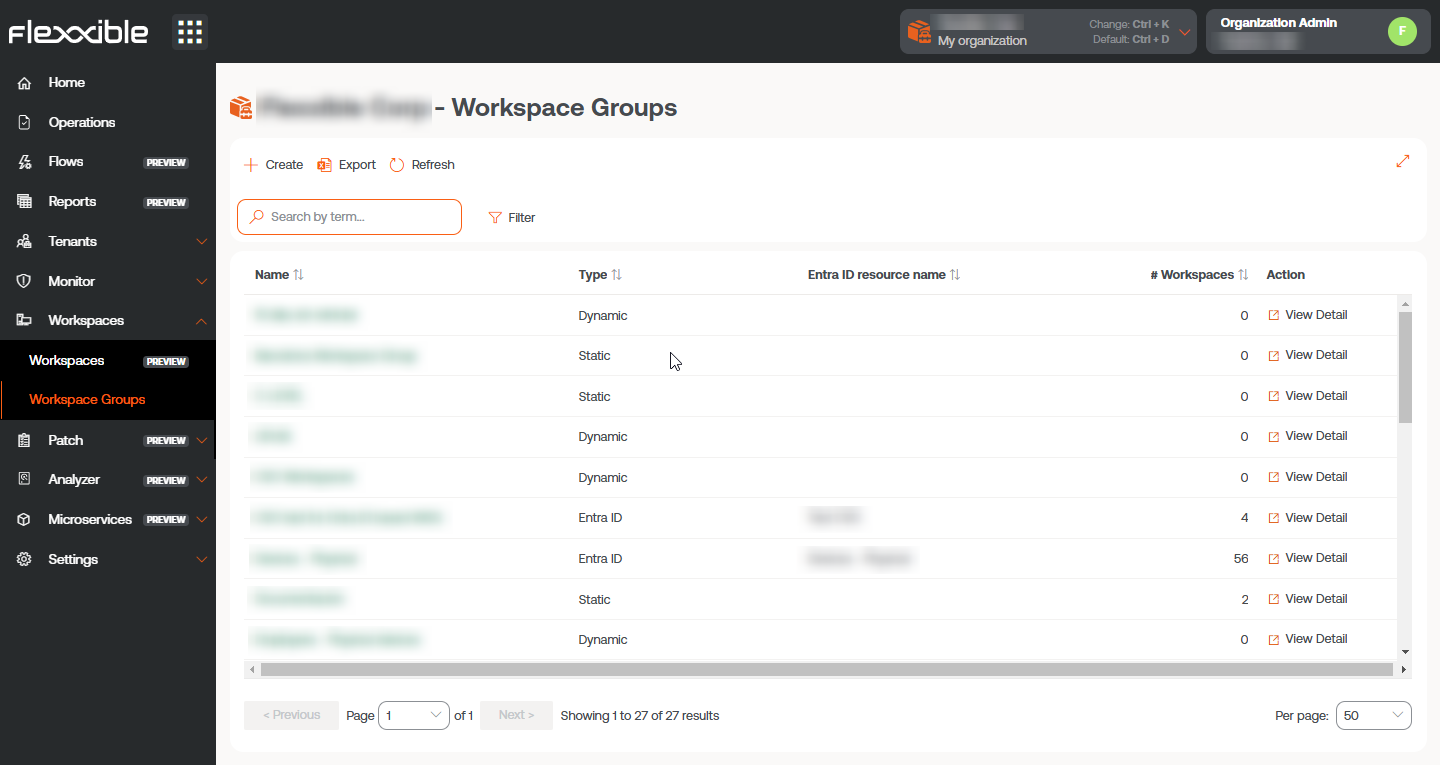
There are three types of groups:
Static workspace group
It is a group created manually, with free criteria. It can be created and managed from the Portal and from the Workspaces module, by filtering the list in the Workspaces section.
Dynamic workspace group
It is a group in which some condition is periodically evaluated; for example: "devices with more than 85% memory usage", so its members can change in real-time. It is very useful when you want to apply specific actions on them, such as microservices to solve a specific problem. They are created from the Workspaces module by filtering the list in the Workspaces section.
Dynamic workspace groups evaluate the fulfillment of a defined condition every 60 minutes; therefore, they are not recommended as a mechanism for detecting user sessions.
Entra ID Workspace group
It is a group that can pull members from an existing group or organizational unit in the Entra ID domain in use. The creation of this type of group requires at least one active integration with the Entra ID domain, within Settings->Integrations, in Portal.
Group management
The list view of the Workspace groups section provides information on the name of the groups, their type, Entra ID feature, and the number of devices they contain. The See Details button shows the following tabs:
Workspace Group Details
Shows the same data as the list view, as well as the group's creation date and the user who created it. The Edit button allows you to change the device name, add a description, or even delete it.

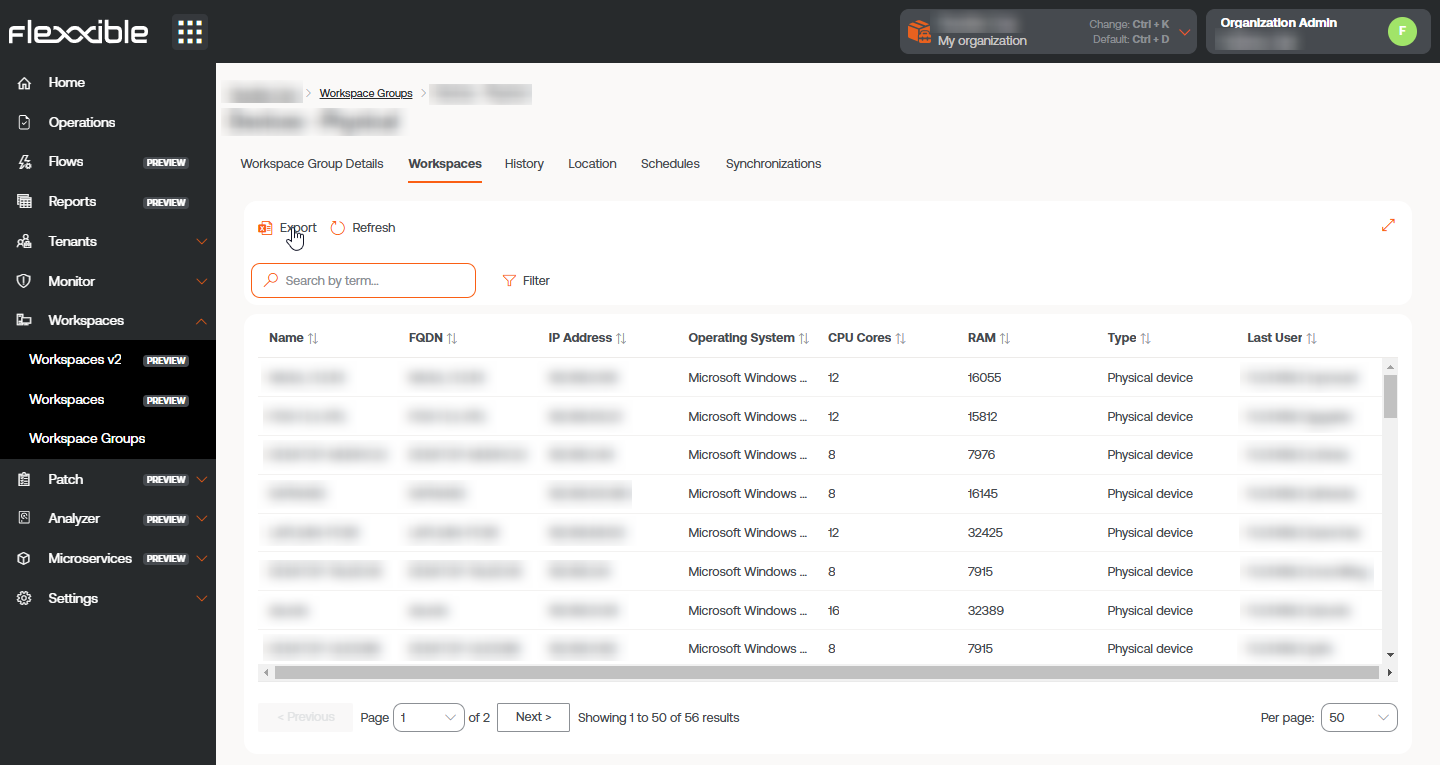
Workspaces
Displays a table with a list of the devices that make up that group. Provides information about the Fully Qualified Domain Name (FQDN) of the device, IP address, operating system, CPU cores, Random Access Memory (RAM), type (physical or virtual), and the last user. The options Import Workspaces and Edit are only available for static workspace groups.
History
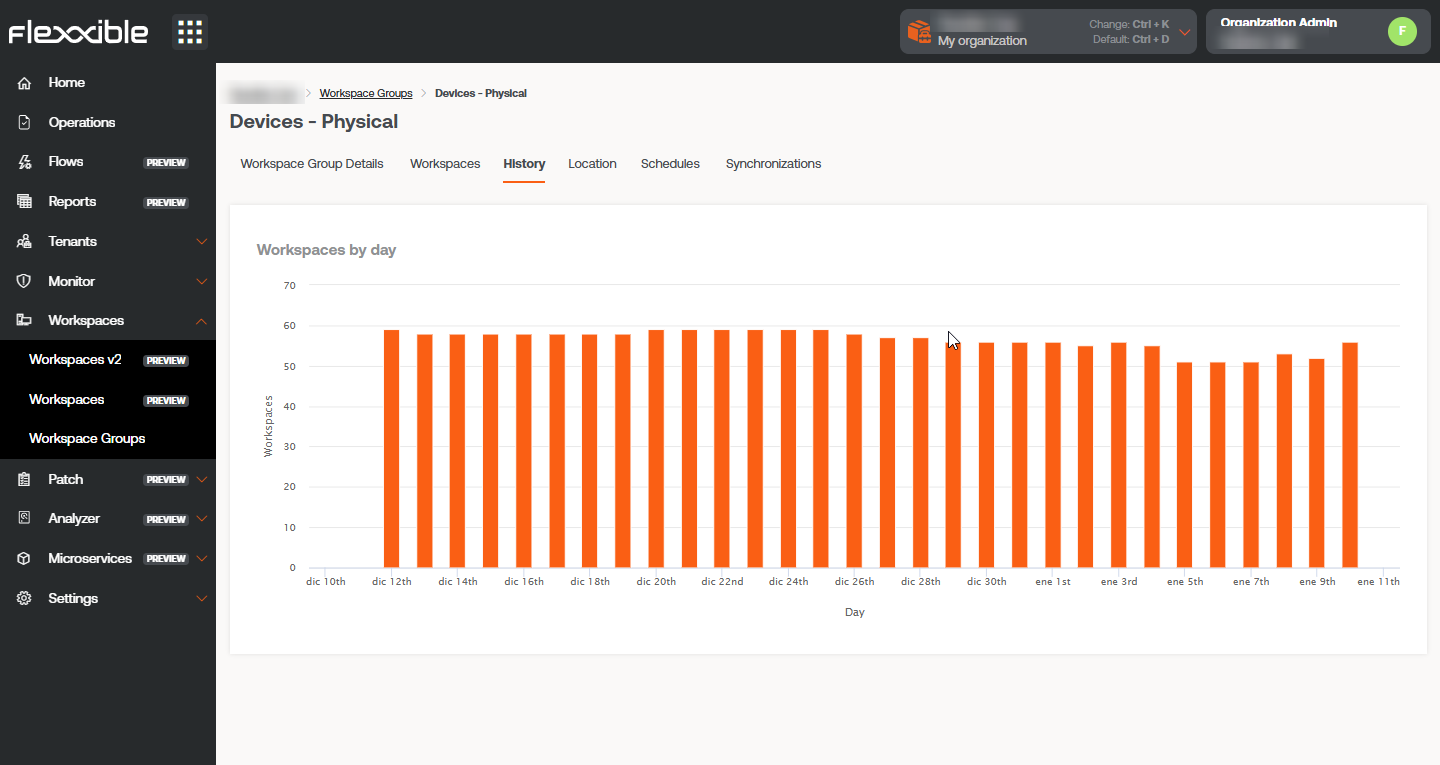
Displays a bar chart with the daily number of devices that have made up the group during the last month. You can zoom in on the chart for better reading by selecting the bars you want to enlarge with the mouse. Using Reset zoom, the information returns to its original state.
Location
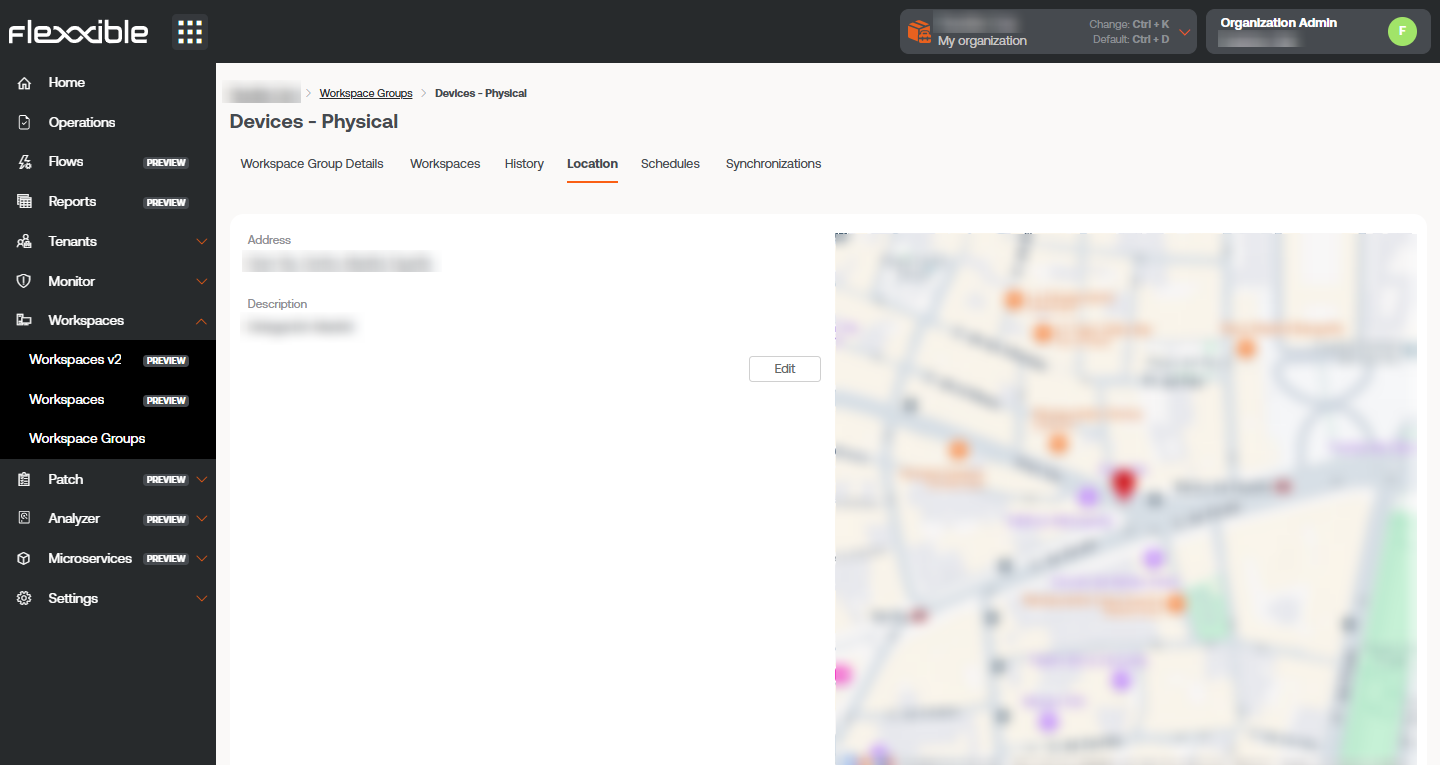
Allows associating GPS coordinates with the workspace group to relate it to a point on the map. This value is just a reference, it does not update if users change location.
Schedule
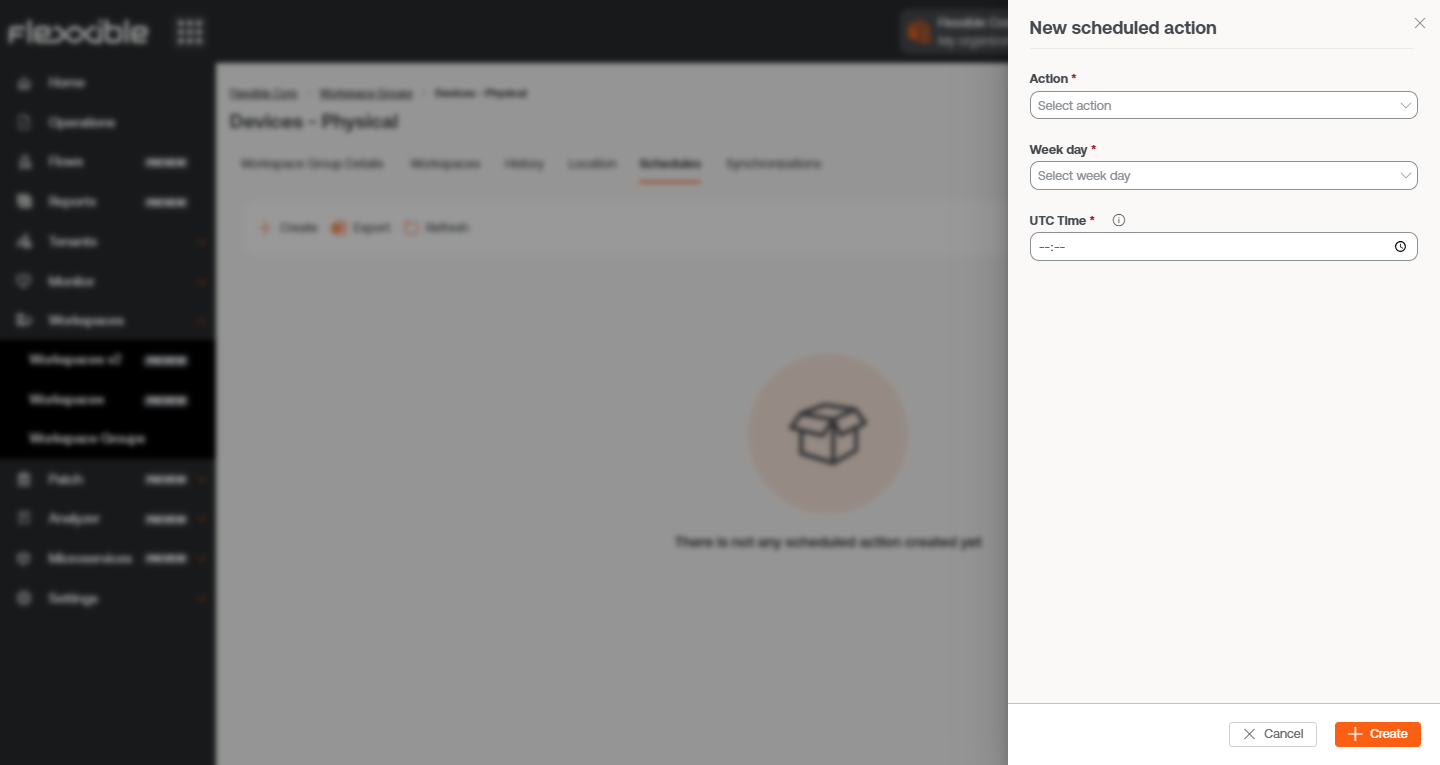
From this tab, you can schedule Wake on LAN (WoL) or automatic shutdown for a group of workspaces. If the user wants to schedule one of these actions, they need to click the New button and fill out the form:
- Action. Allows you to choose between Wake on LAN or Shutdown. If the first option is selected, you can activate
Use specific Workspace for WoLat the bottom of the form to schedule the power on for a specific device. - Day of the week. Day of the week when the action will be performed.
- UTC Time. Exact time to start the action, in Coordinated Universal Time standard.
The action created can be seen in a table, with columns showing the information entered in the form, as well as which user created the action and who and when the schedule was updated. From
View detailsyou can edit and delete the scheduled action.
Sync
This tab is only visible when the group is of Entra ID type. Displays a table with details of the synchronizations performed with information about:
- Sync date and time.
- Entra ID Workspaces. Total number of items in the group or organizational unit of Entra ID.
- Added Workspaces. Number of devices added to the group.
- Removed Workspaces. Number of devices removed from the group.
- Existing Workspaces. Number of devices already present in the group.
- Workspaces Not Found. Number of devices not found in the group; that is, devices that, although part of the Entra ID group or organizational unit, cannot be added to the group as they do not have FlexxAgent installed.
- Duplicate Workspaces. Number of duplicate workspaces in the group, if any.
- Execution Time. Time required for synchronization.
- Action. Allows you to see a table with synchronization information for each device in the group.

Create groups
Workspace groups can be created from the Portal and from the Workspaces module.
Create a static workspace group from the Portal
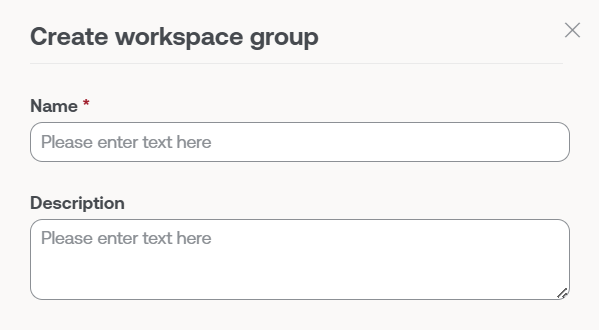
At the top of the list view in the Workspace groups section, click on New. A form will open where you will be asked to add a name and a description for the new group.
There are two ways to add devices to a static workspace group from Portal:
- In the groups table, click on
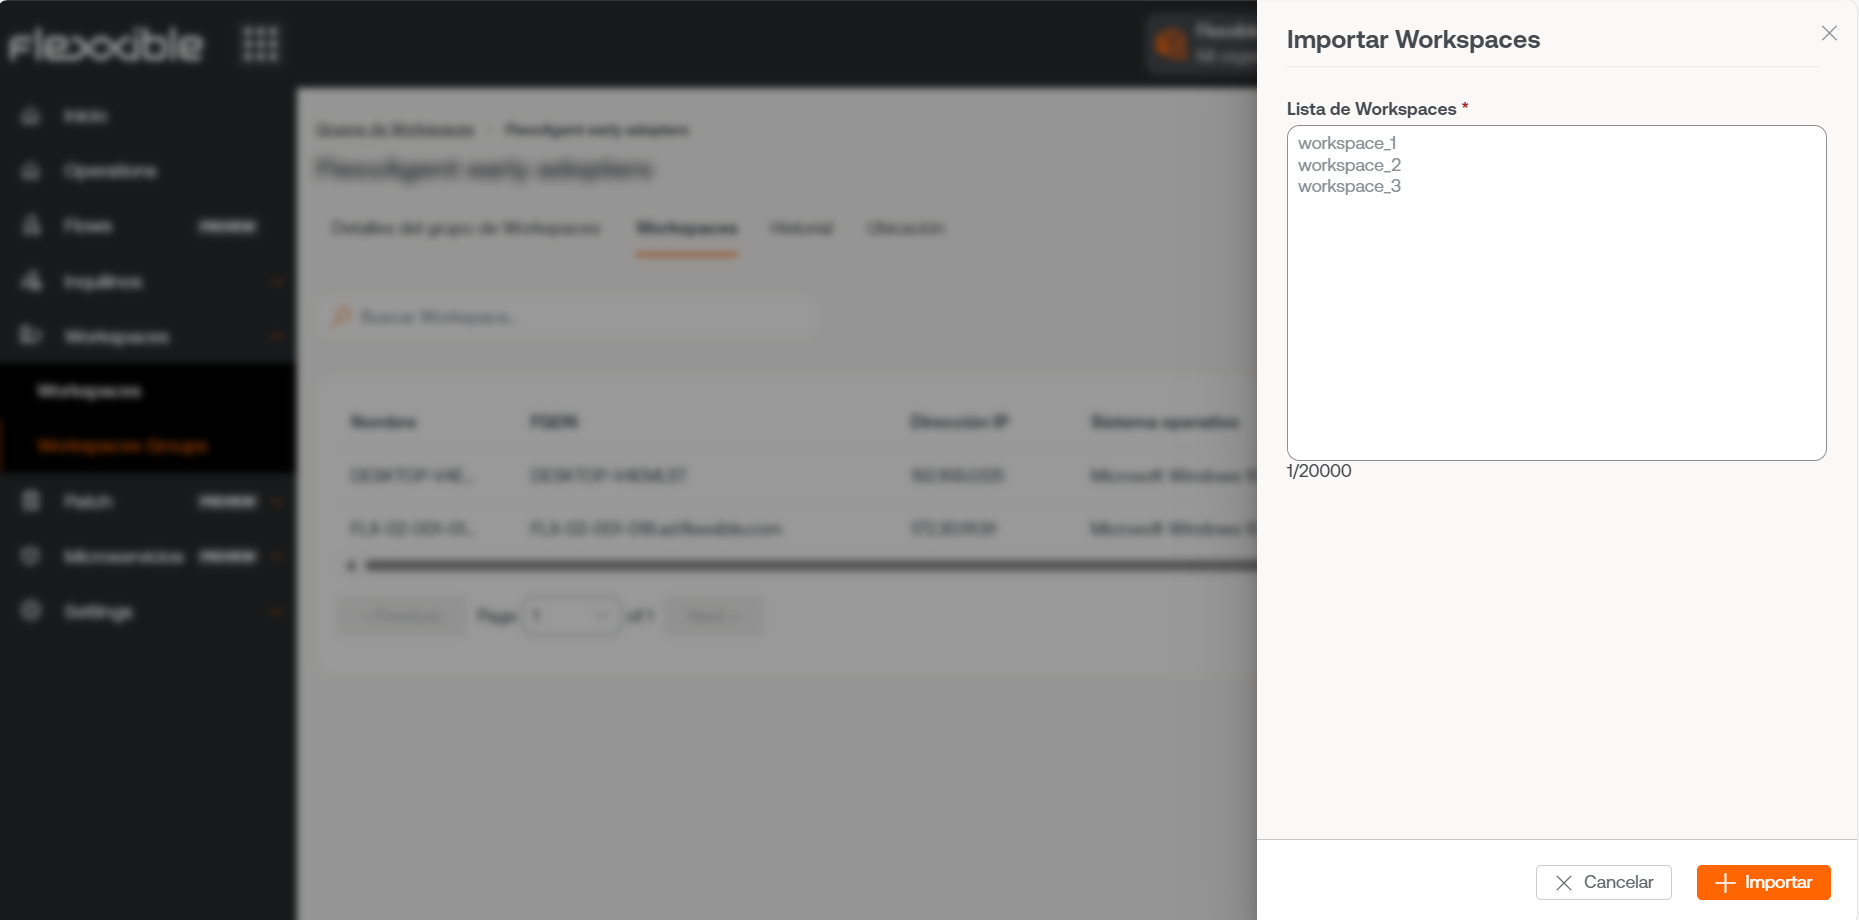
Detail Viewof the desired group ->Workspaces->Import devices. A form opens allowing importation of up to 20,000 devices.
- In the groups table, click on
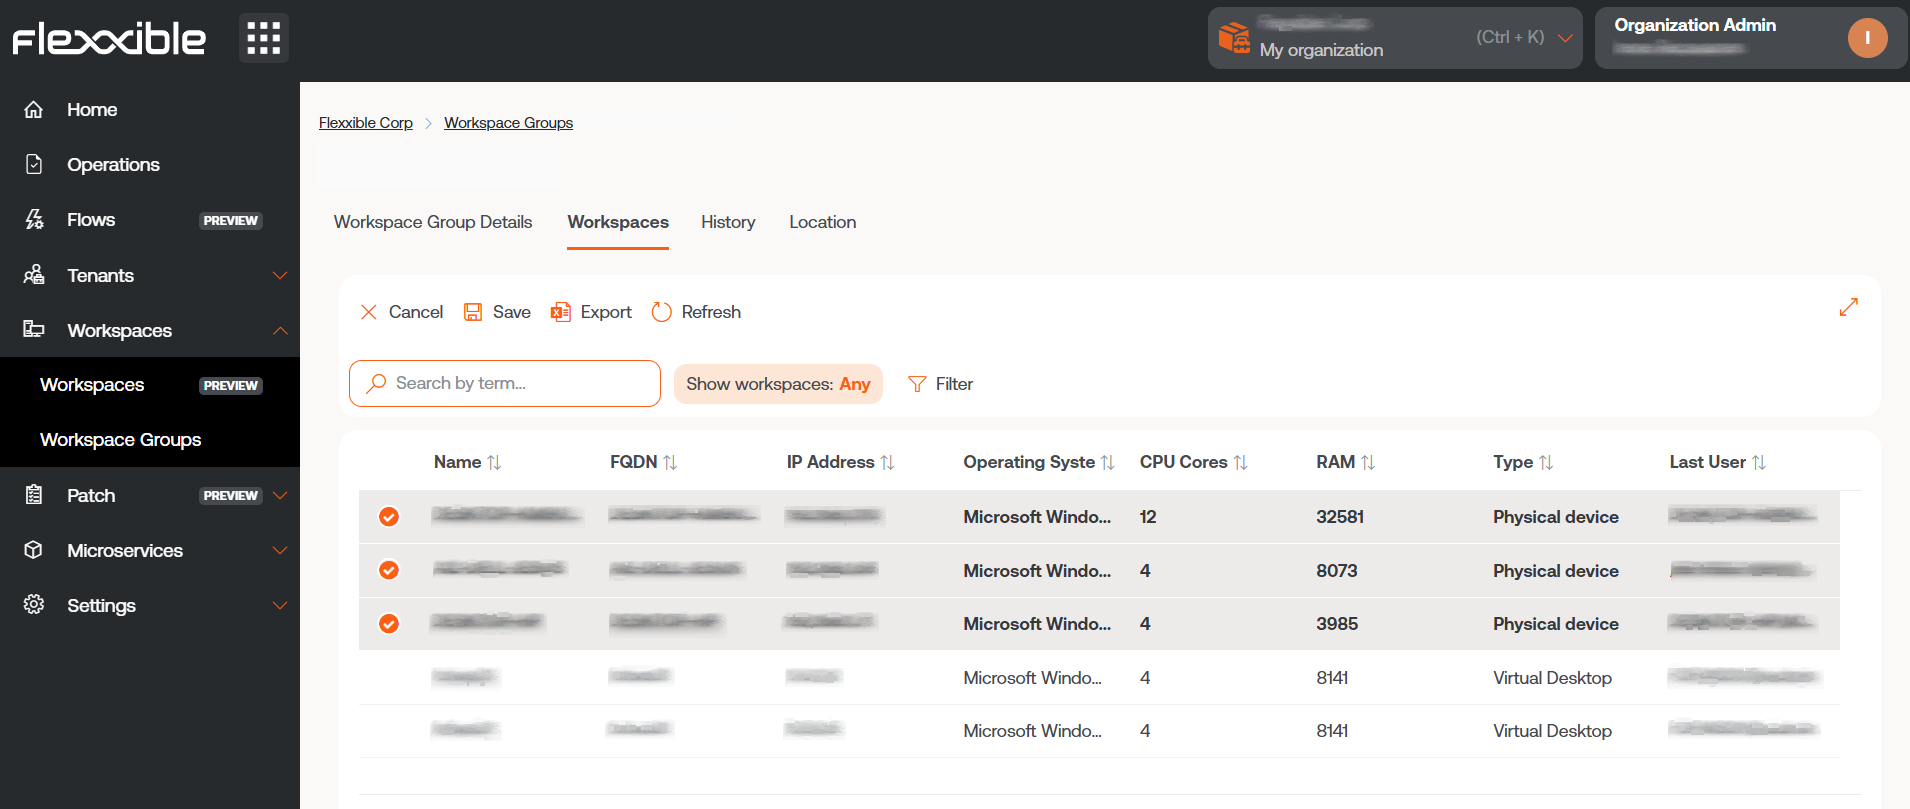
Detail Viewof the desired group ->Workspaces->Edit. Next, select the devices you want to add. Those marked with an orange dot are added to the group and those not marked are removed. In both cases, click onSaveto keep the changes.
Organizations can import into a static workspace group those devices that are part of their suborganizations.
Create a static workspace group from Workspaces
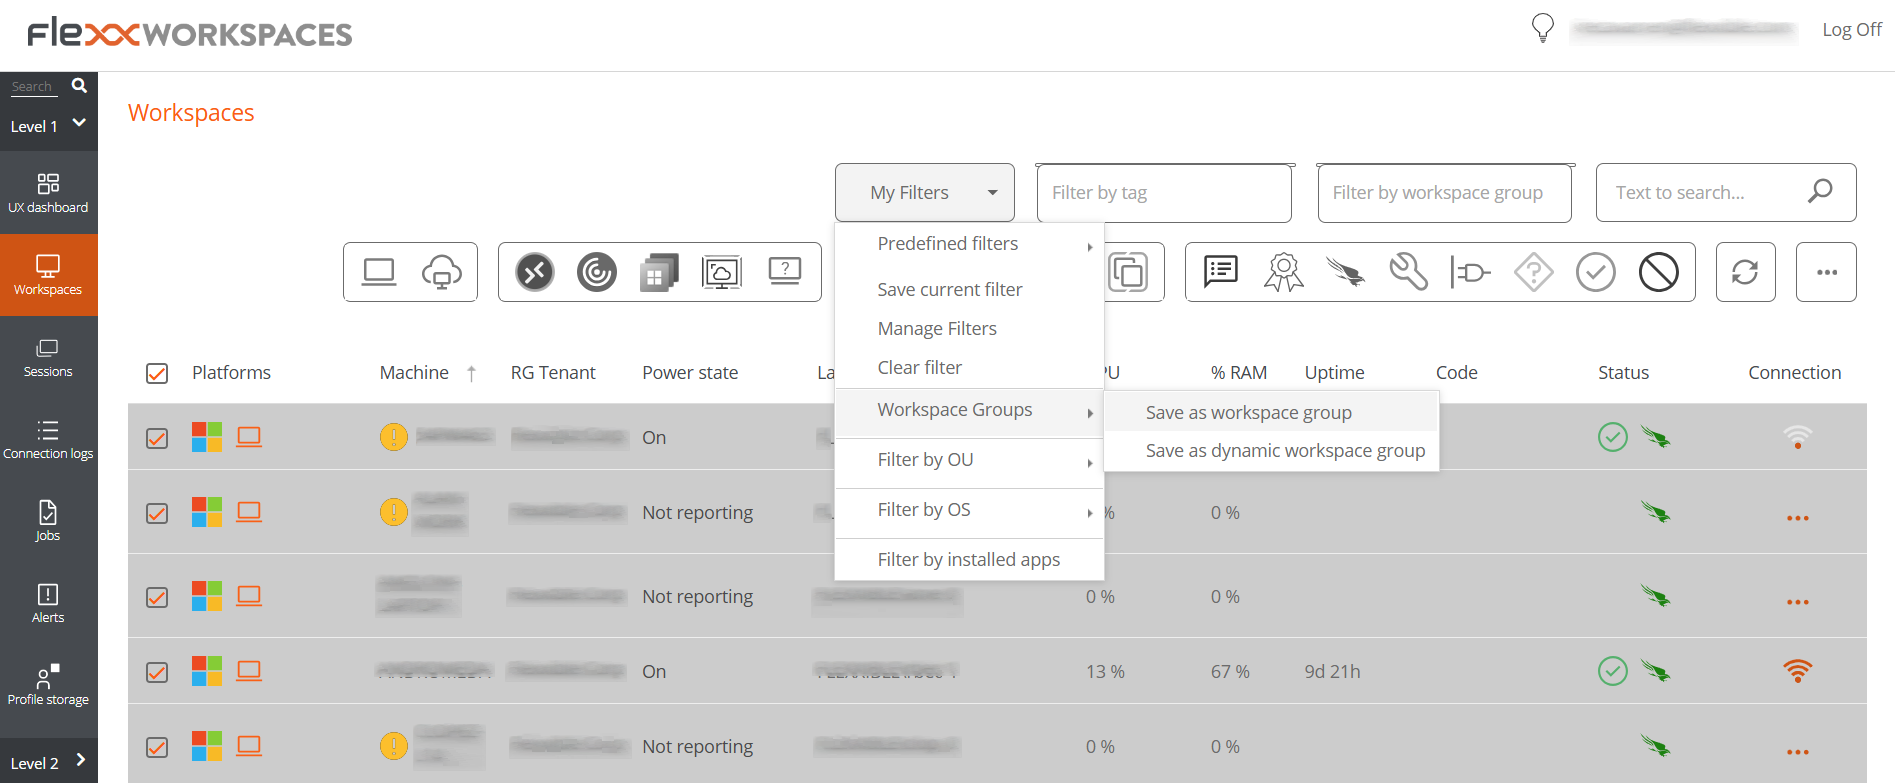
In the sidebar of the Workspaces module, navigate to the Workspaces section. Select the desired devices in the list view and save them in a new group by clicking on My filters -> Workspace group -> Save as workspace group.
Create a dynamic workspace group
From the list view of Workspaces, in the Workspaces module, right-click any field in the table to access Filter builder and choose the necessary filters to get a list with the devices that will form the new group. You can also select filters from My filters -> Default filters or from any filtering option offered by the Workspaces view.
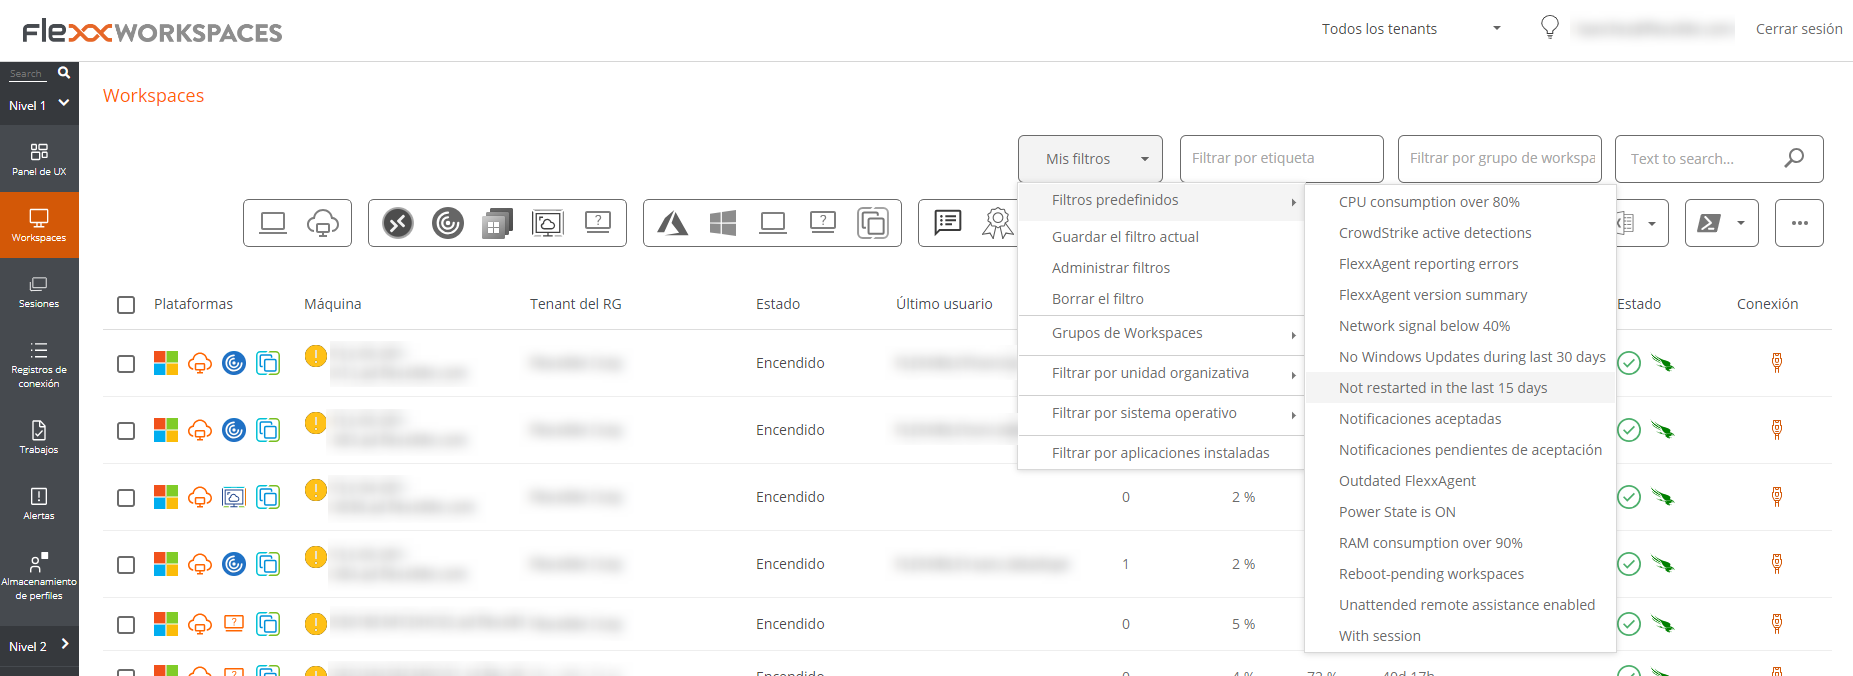
With the device list ready, go to My filters -> Workspace group -> Save as dynamic workspace group. Workspaces will not allow creating a group if the filters for the devices are not specified first.
Workspaces will create a Job with the new group. If you want to verify that it has been formed correctly, you can do so from the list view in the Workspace groups section, in Portal.
Create a Workspace group Enter ID
Entra ID groups are created from Portal. Go to Workspace groups in the side menu. Click on the New button located at the top of the list view. A form will open where you must add a name, a description for the group, and activate the Entra ID button. Next, select the type of group to be created: Entra ID Group or Entra ID Administration Unit.
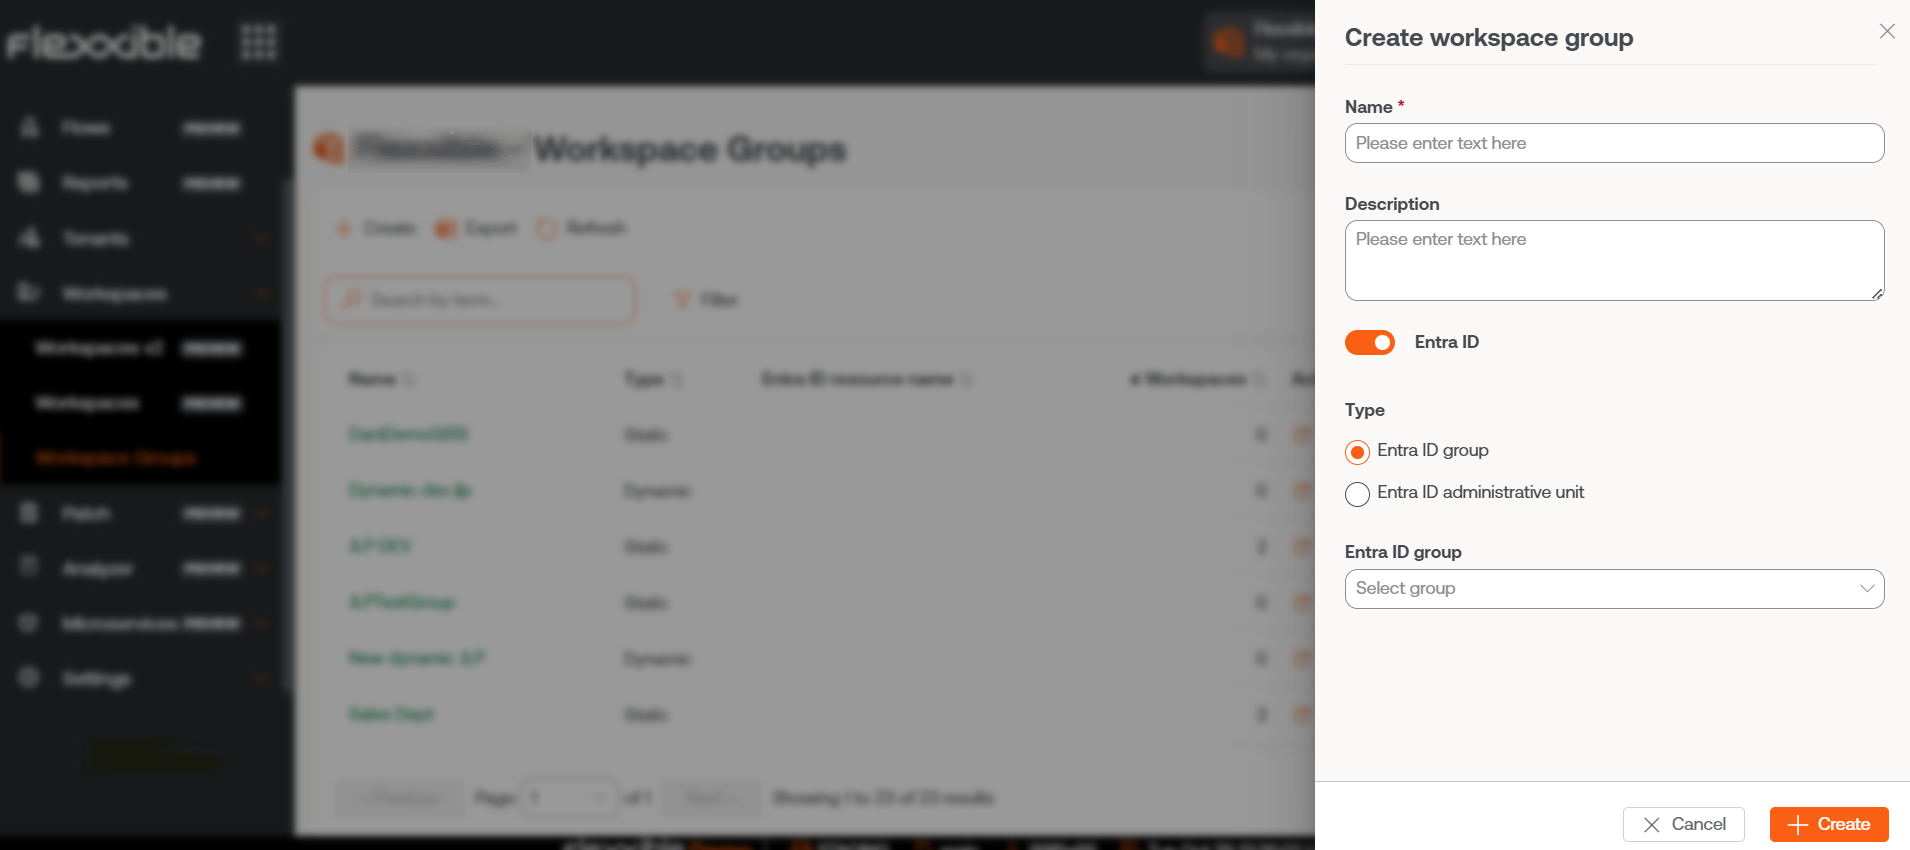
Entra ID groups require an API connection, which can be configured from Portal -> Settings -> Integrations. Only from there can you check the created Enter ID Group and Enter ID Administration Unit and, therefore, perform operations on them from the Workspaces module.
Group editing
Depending on their typology, group editing is detailed in the following points.
Edit a dynamic workspace group
To change the filters of a dynamic workspace group, and therefore the members of that group, the following steps must be followed:
- Search for the group name in the
Filter by workspace groupsearch box located in the list view of the Workspaces section. - Right-click on any field in the table with the list of workspaces to access the
Filter builder. From there you can choose the new filters for the group. Please note that Workspaces will overwrite the original filters; that is, it will remove all old filters and replace them with the new ones. PressOK. - With the new device list, go to
My filters->Workspace Groups->Save as dynamic workspace group. It is important to save the group with the same name it had before so a new group is not created.
Delete a workspace group
In the list view of the Workspace groups section, in Portal, click on Detail view of the desired group. In the Group Details tab -> Edit, a form will open with the Delete option.
For more information on how to create or manage workspace groups, please refer to this guide.